Getting Started
Drawing your first timing diagram
For the best experience on drawing digital timing diagrams, we recommend using Google Chrome.
This guide will walk through the process of drawing your first timing diagram in the Tiagram editor.
Creating your first timing diagram
Upon logging in, navigate to your dashboard:

In the top-right corner, click on the button. Once clicked, you will be redirected to the timing diagram editor:
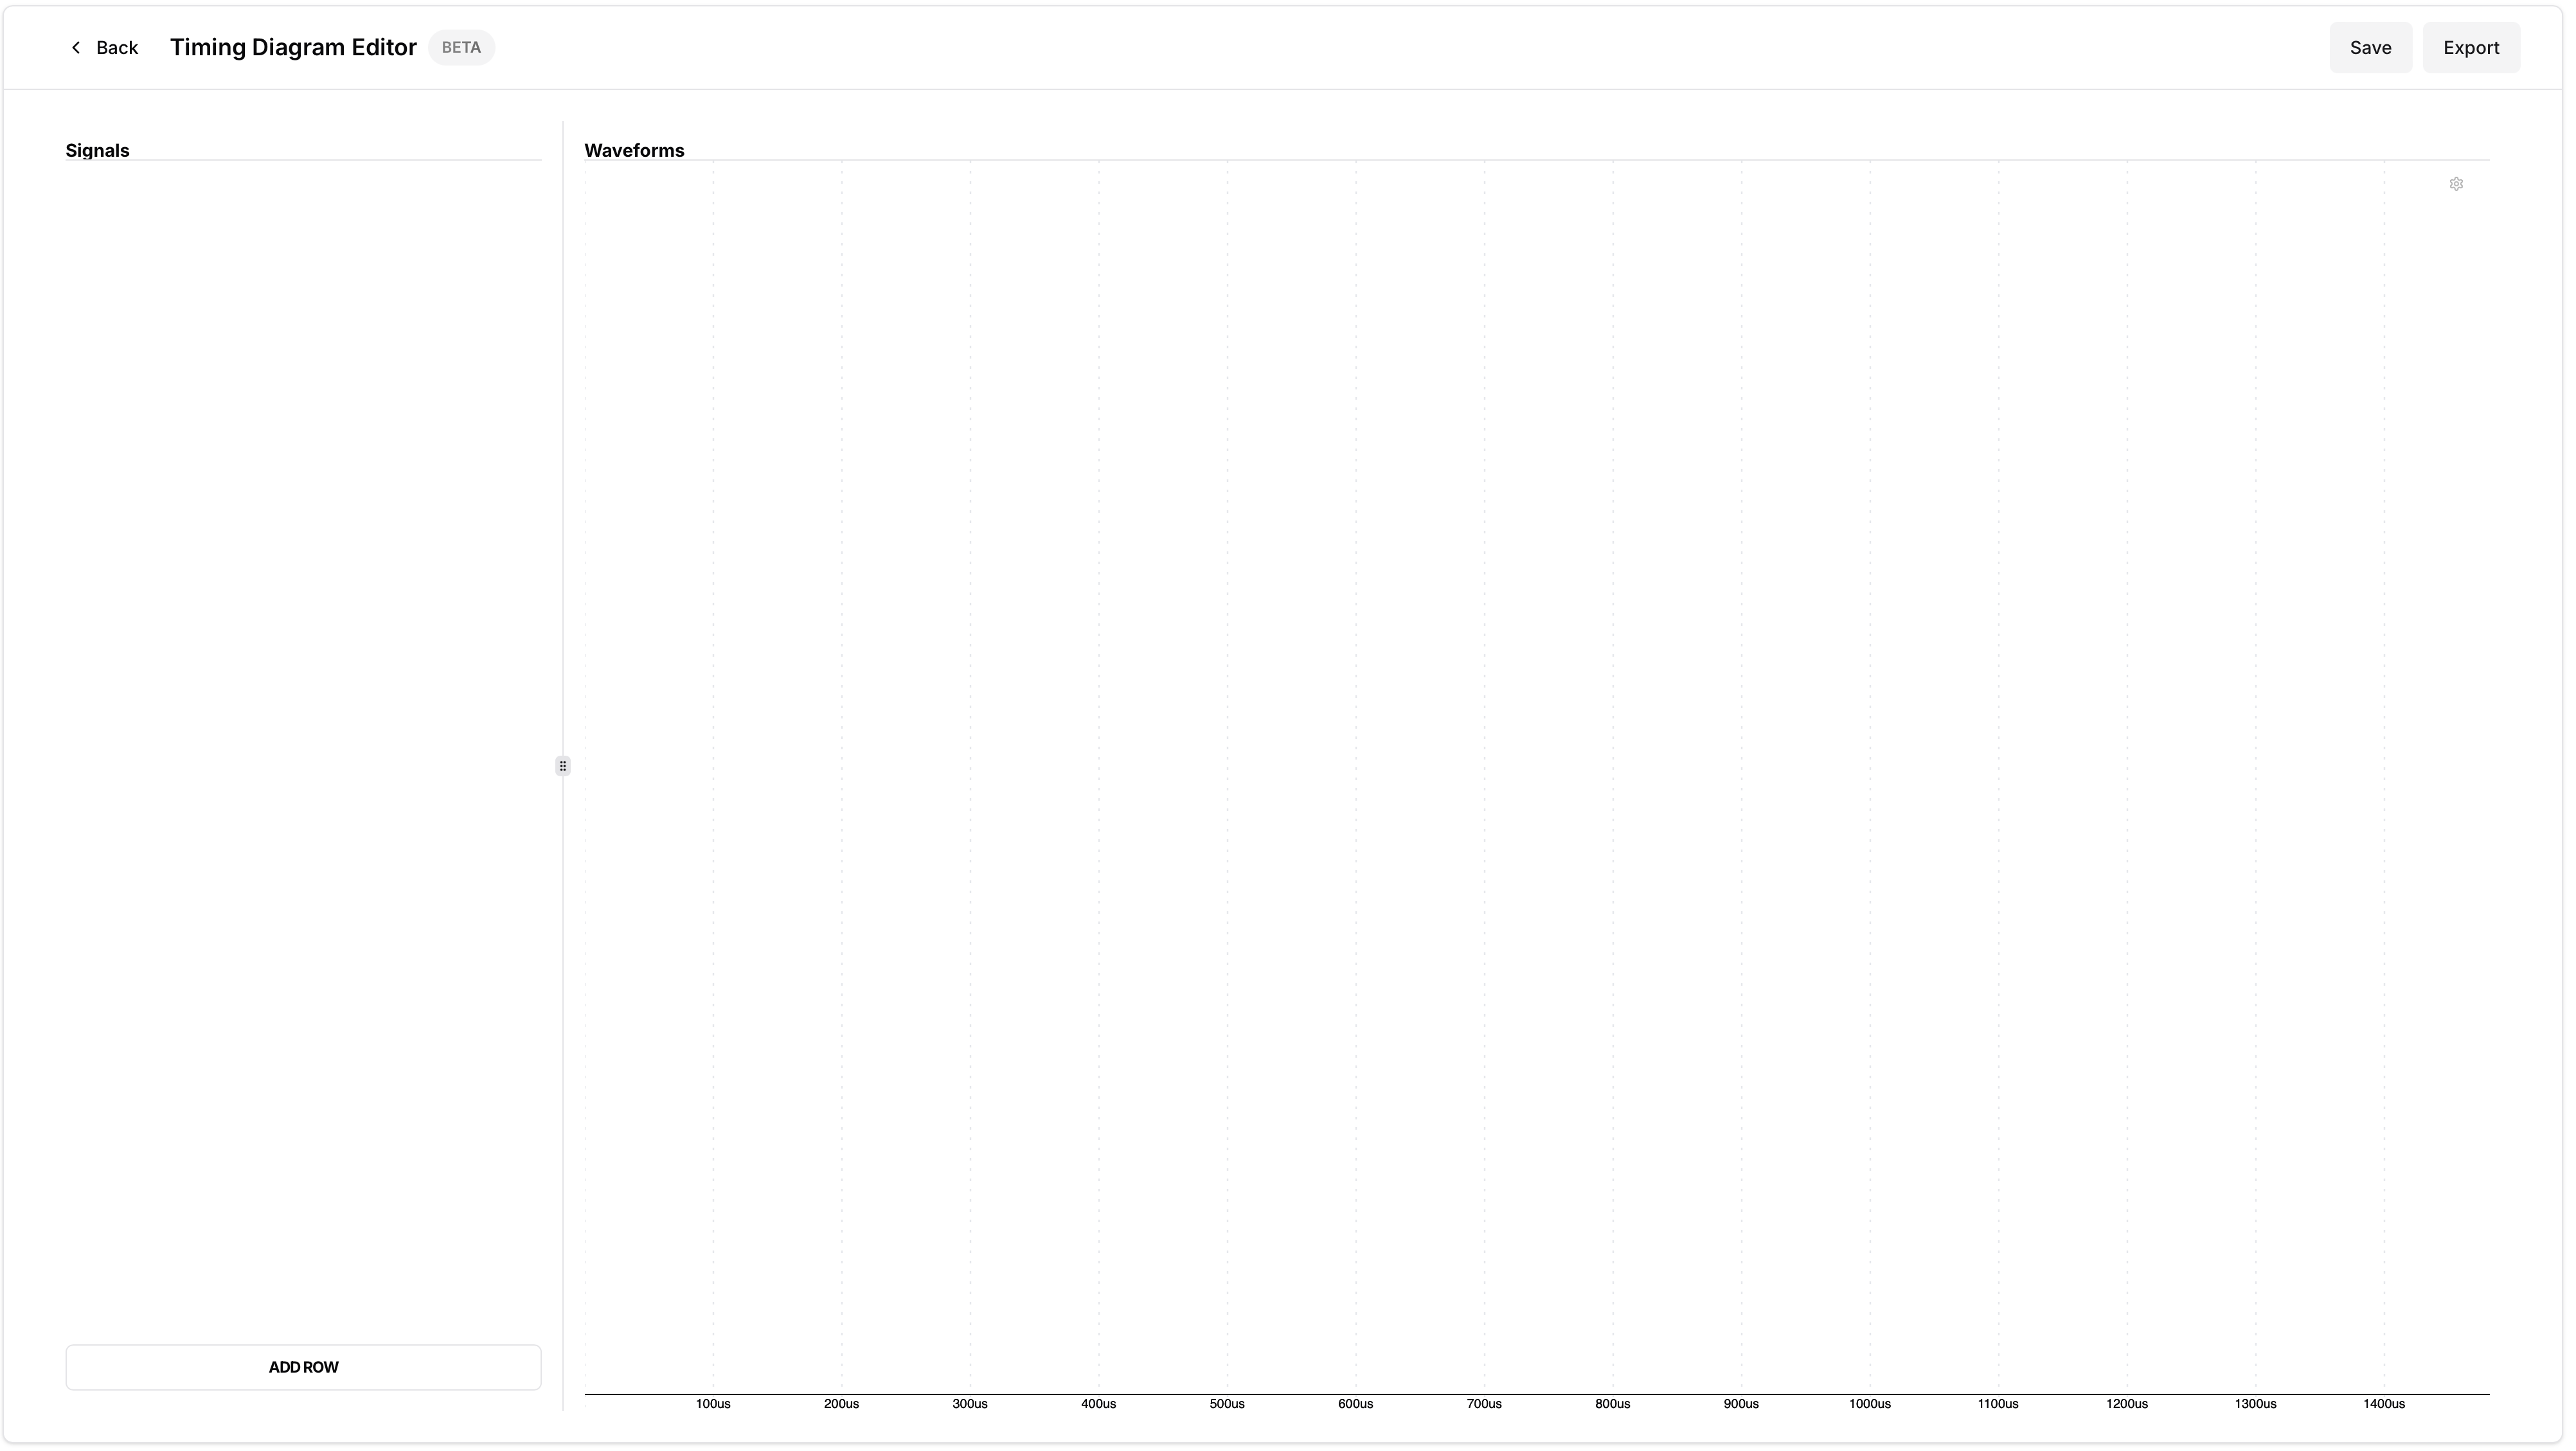
Now we're ready to add a signal/row to our timing diagram
Adding a Row
In the bottom left corner, click on the button.
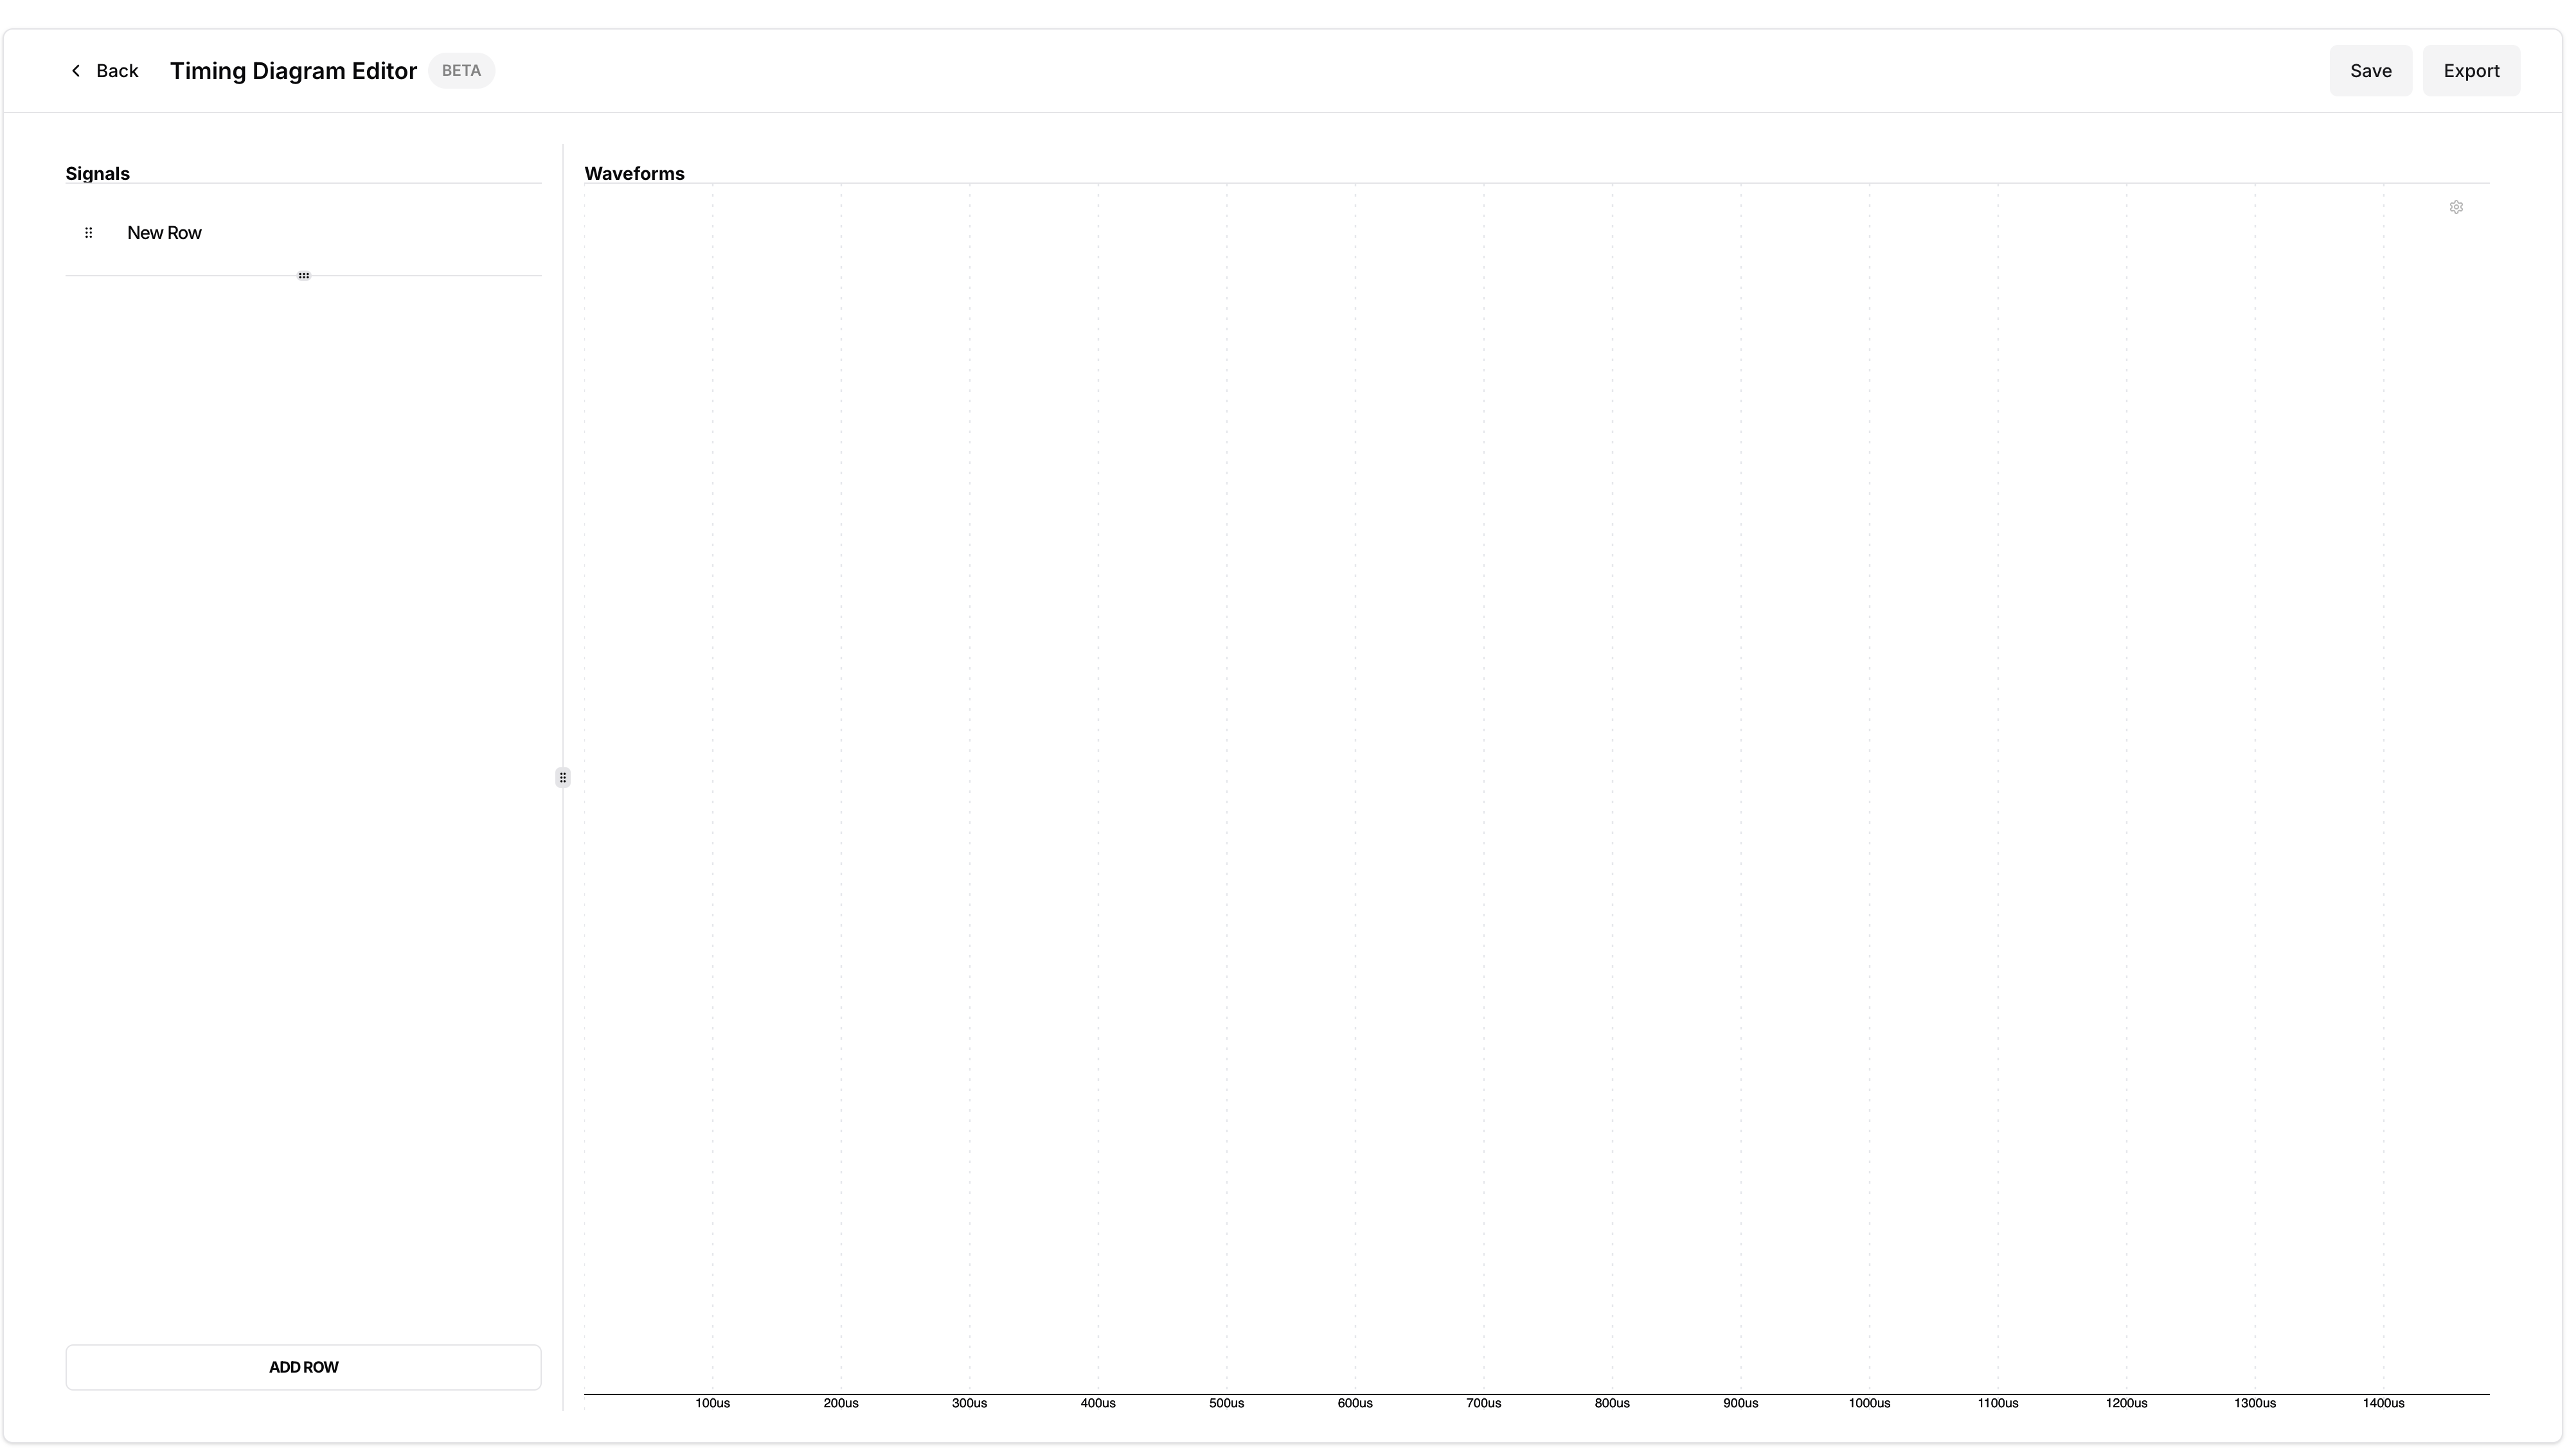
Now that we've added a signal row, we can start drawing digital waveforms.
Adding Digital Signals
Once we added a signal row, we can start drawing signals by hovering over the row and holding the a key pressed. The following bubble menu will pop up:
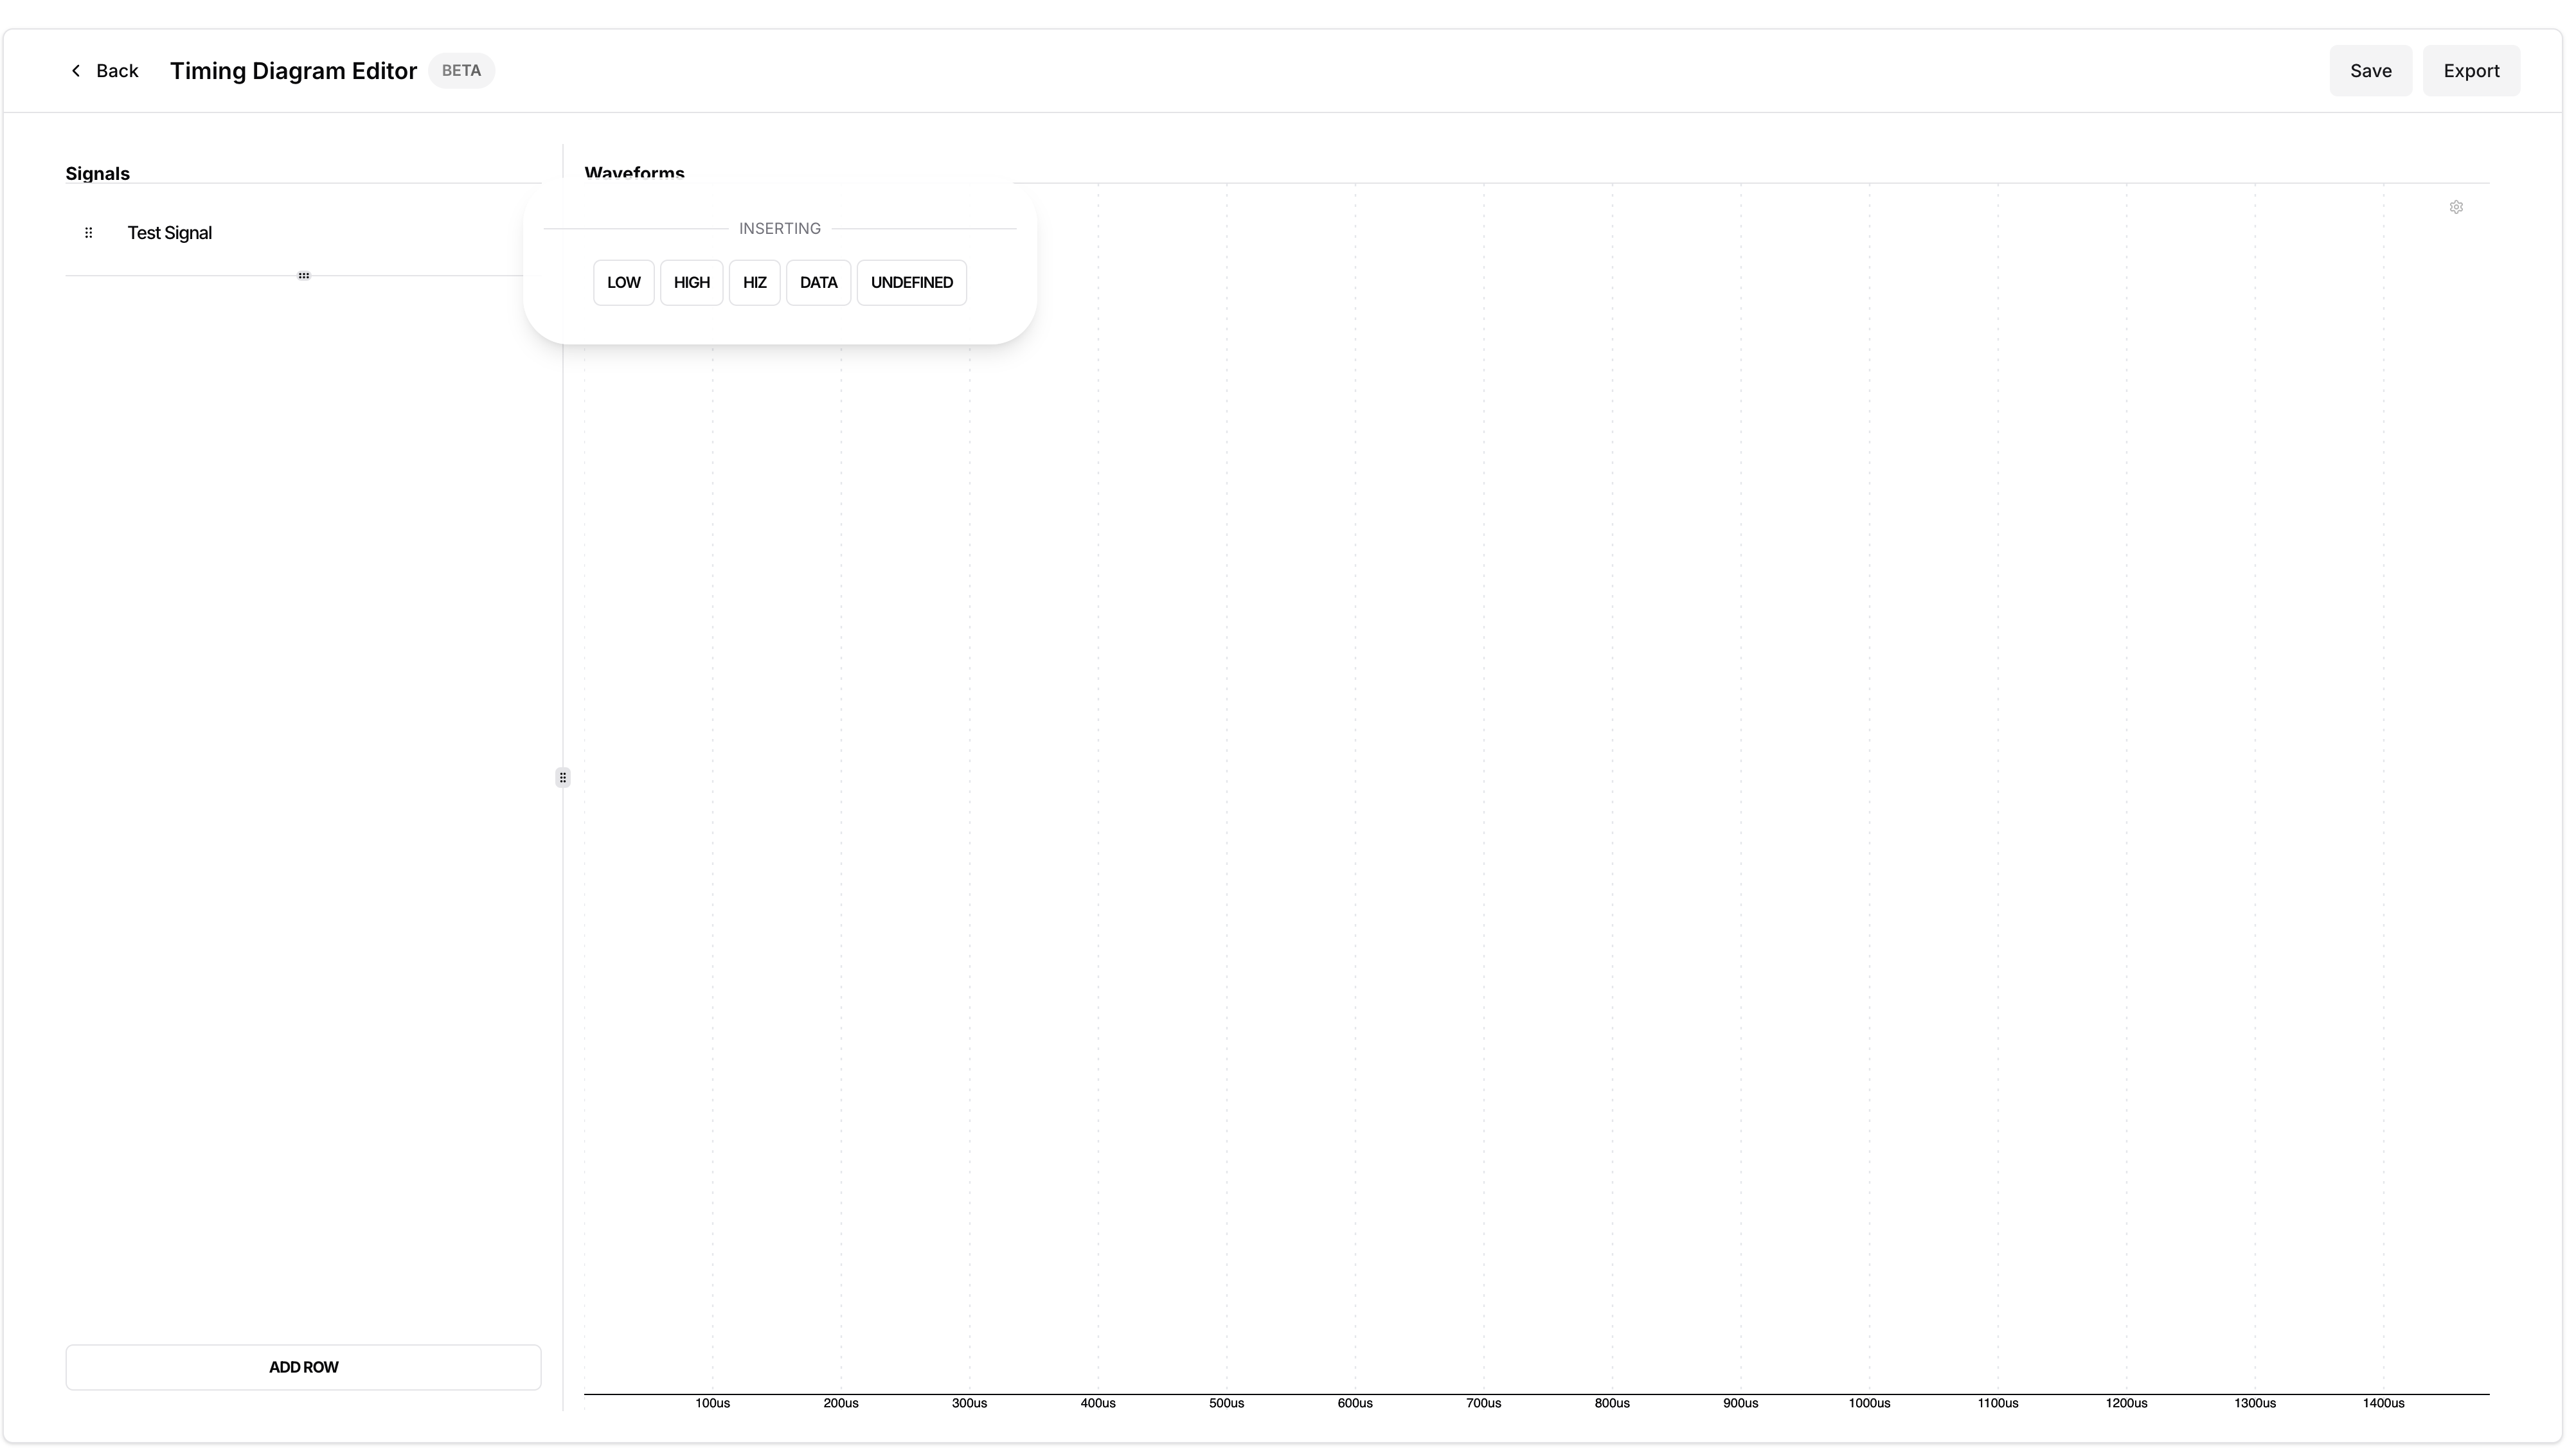
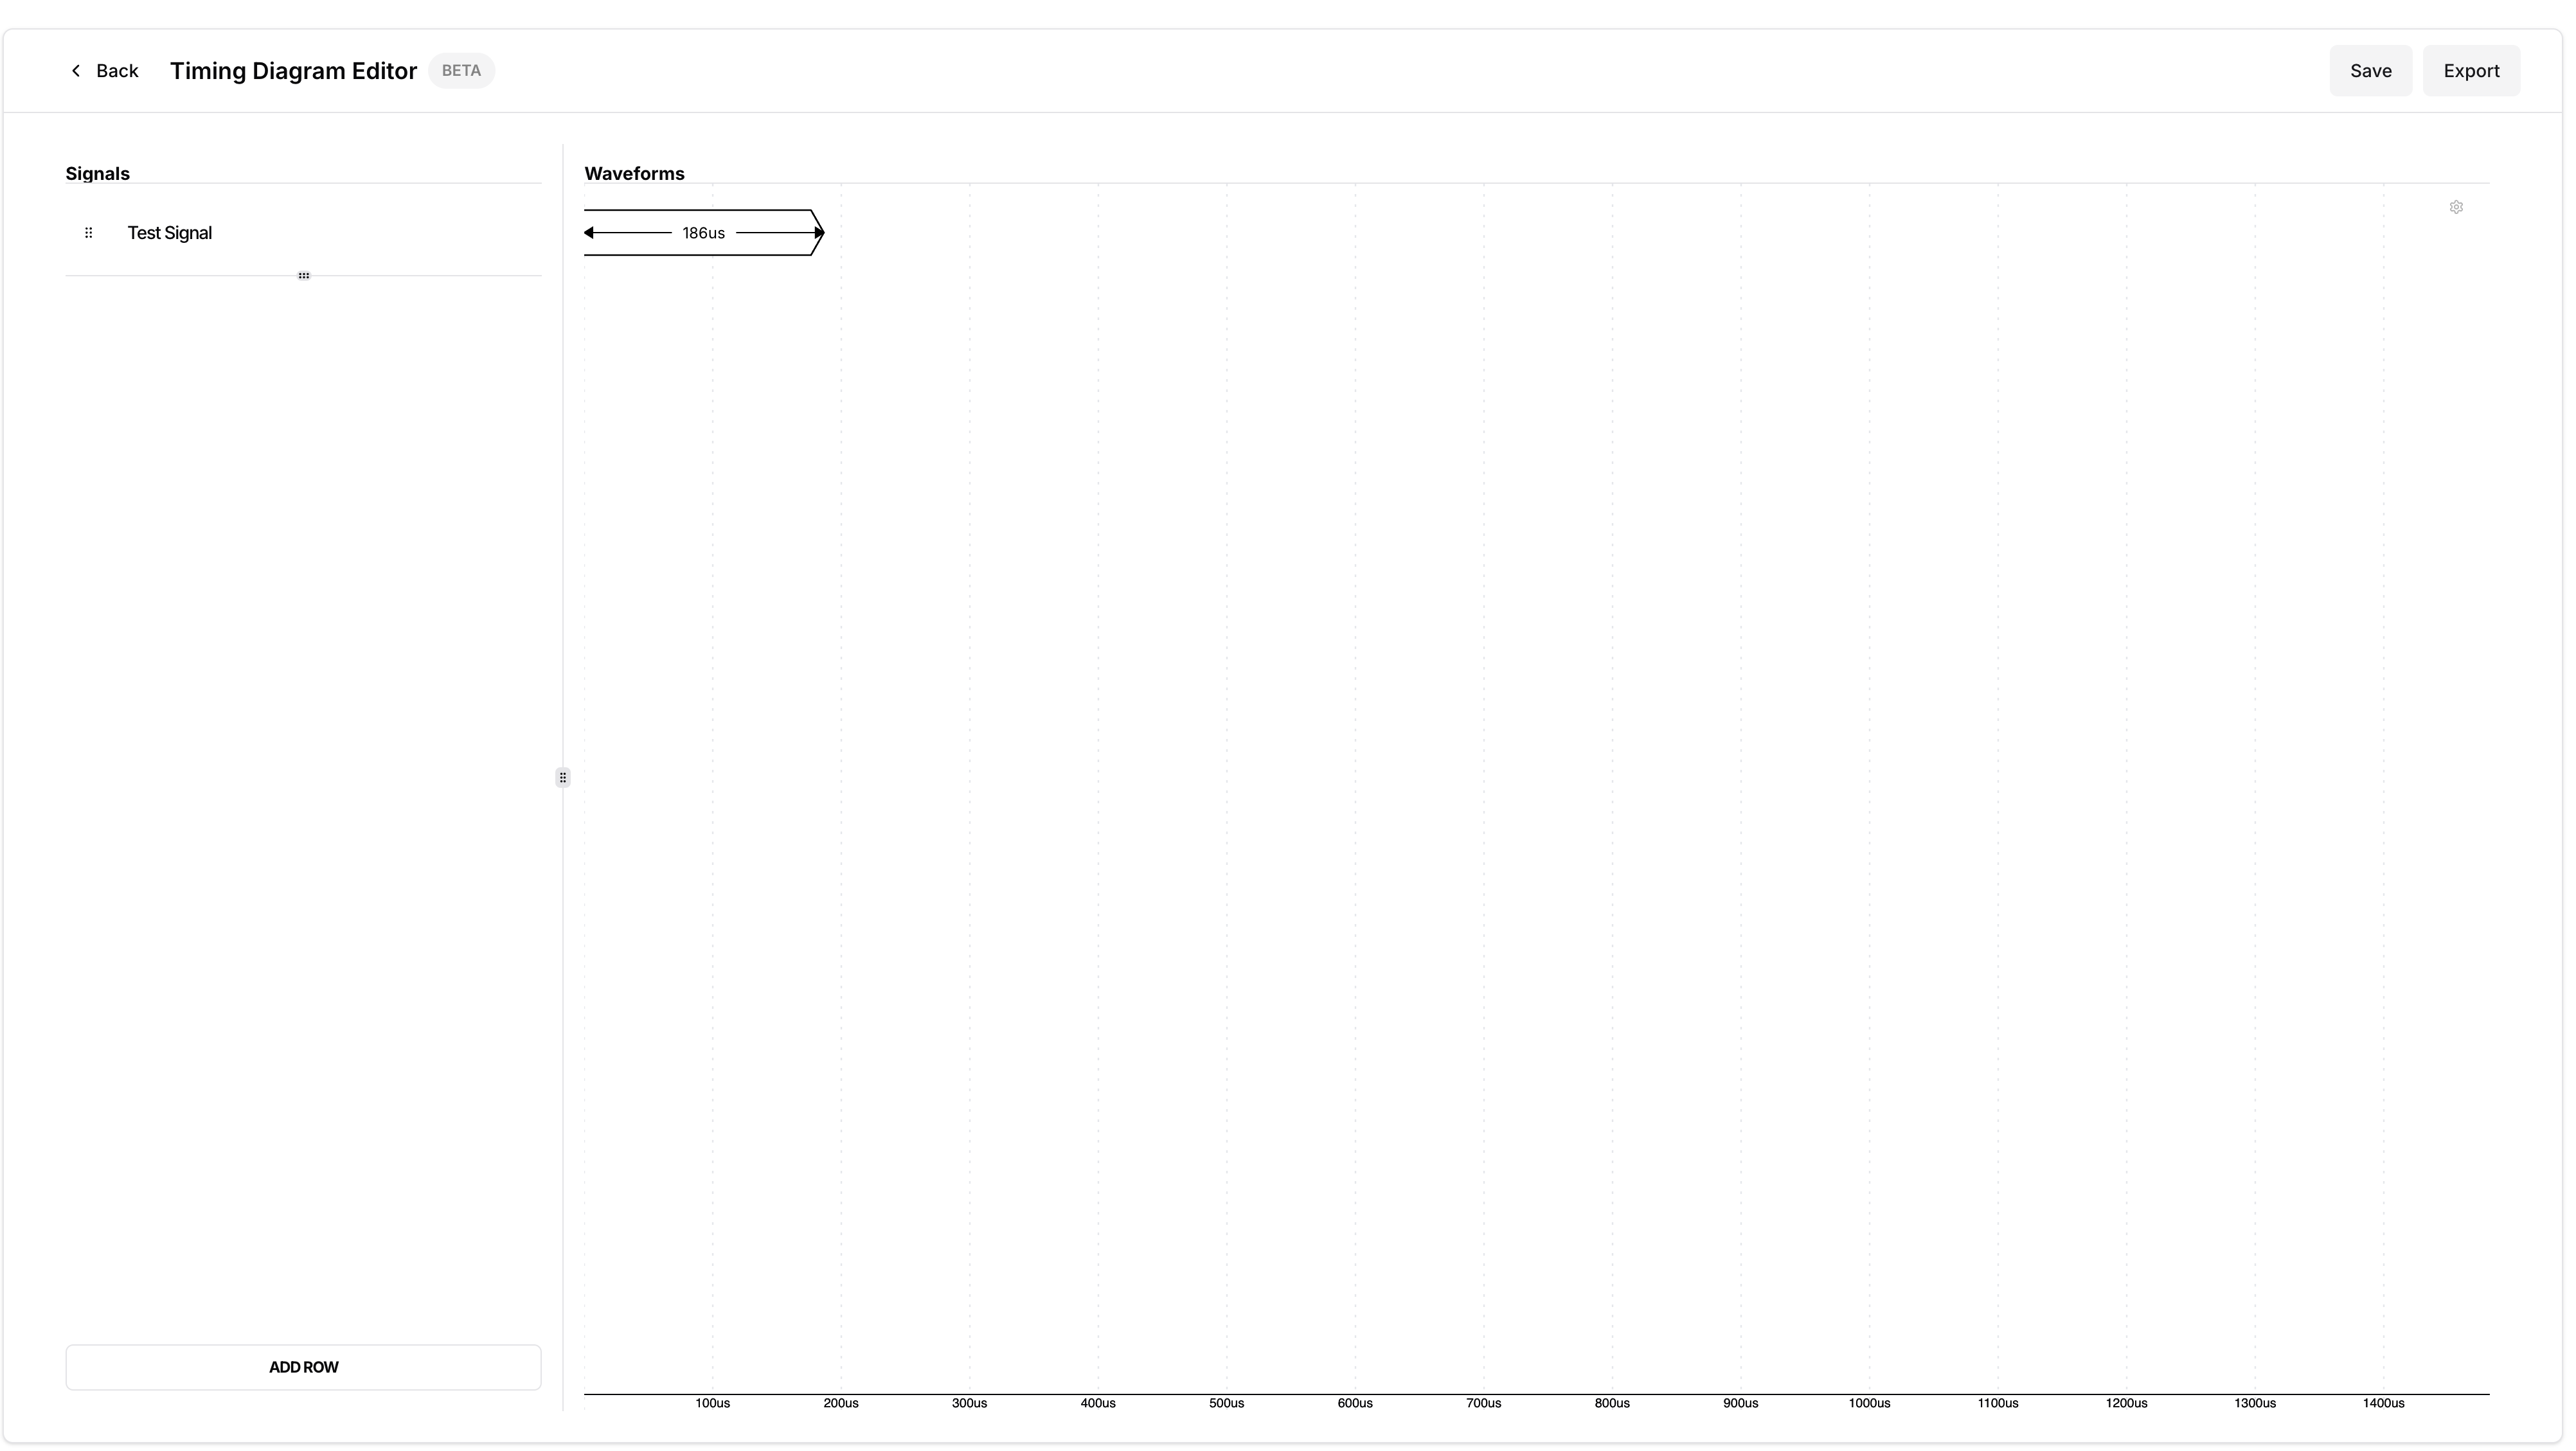
While the a key is pressed, click on the type of signal you would like to draw and adjust the width as needed. Once done, release the key press. Repeat for any other types of signals.
Resizing a Signal
Hover over the signal to be resized, and while holding r key is pressed, adjust the width of the signal. Release when done.
Customizing Signal
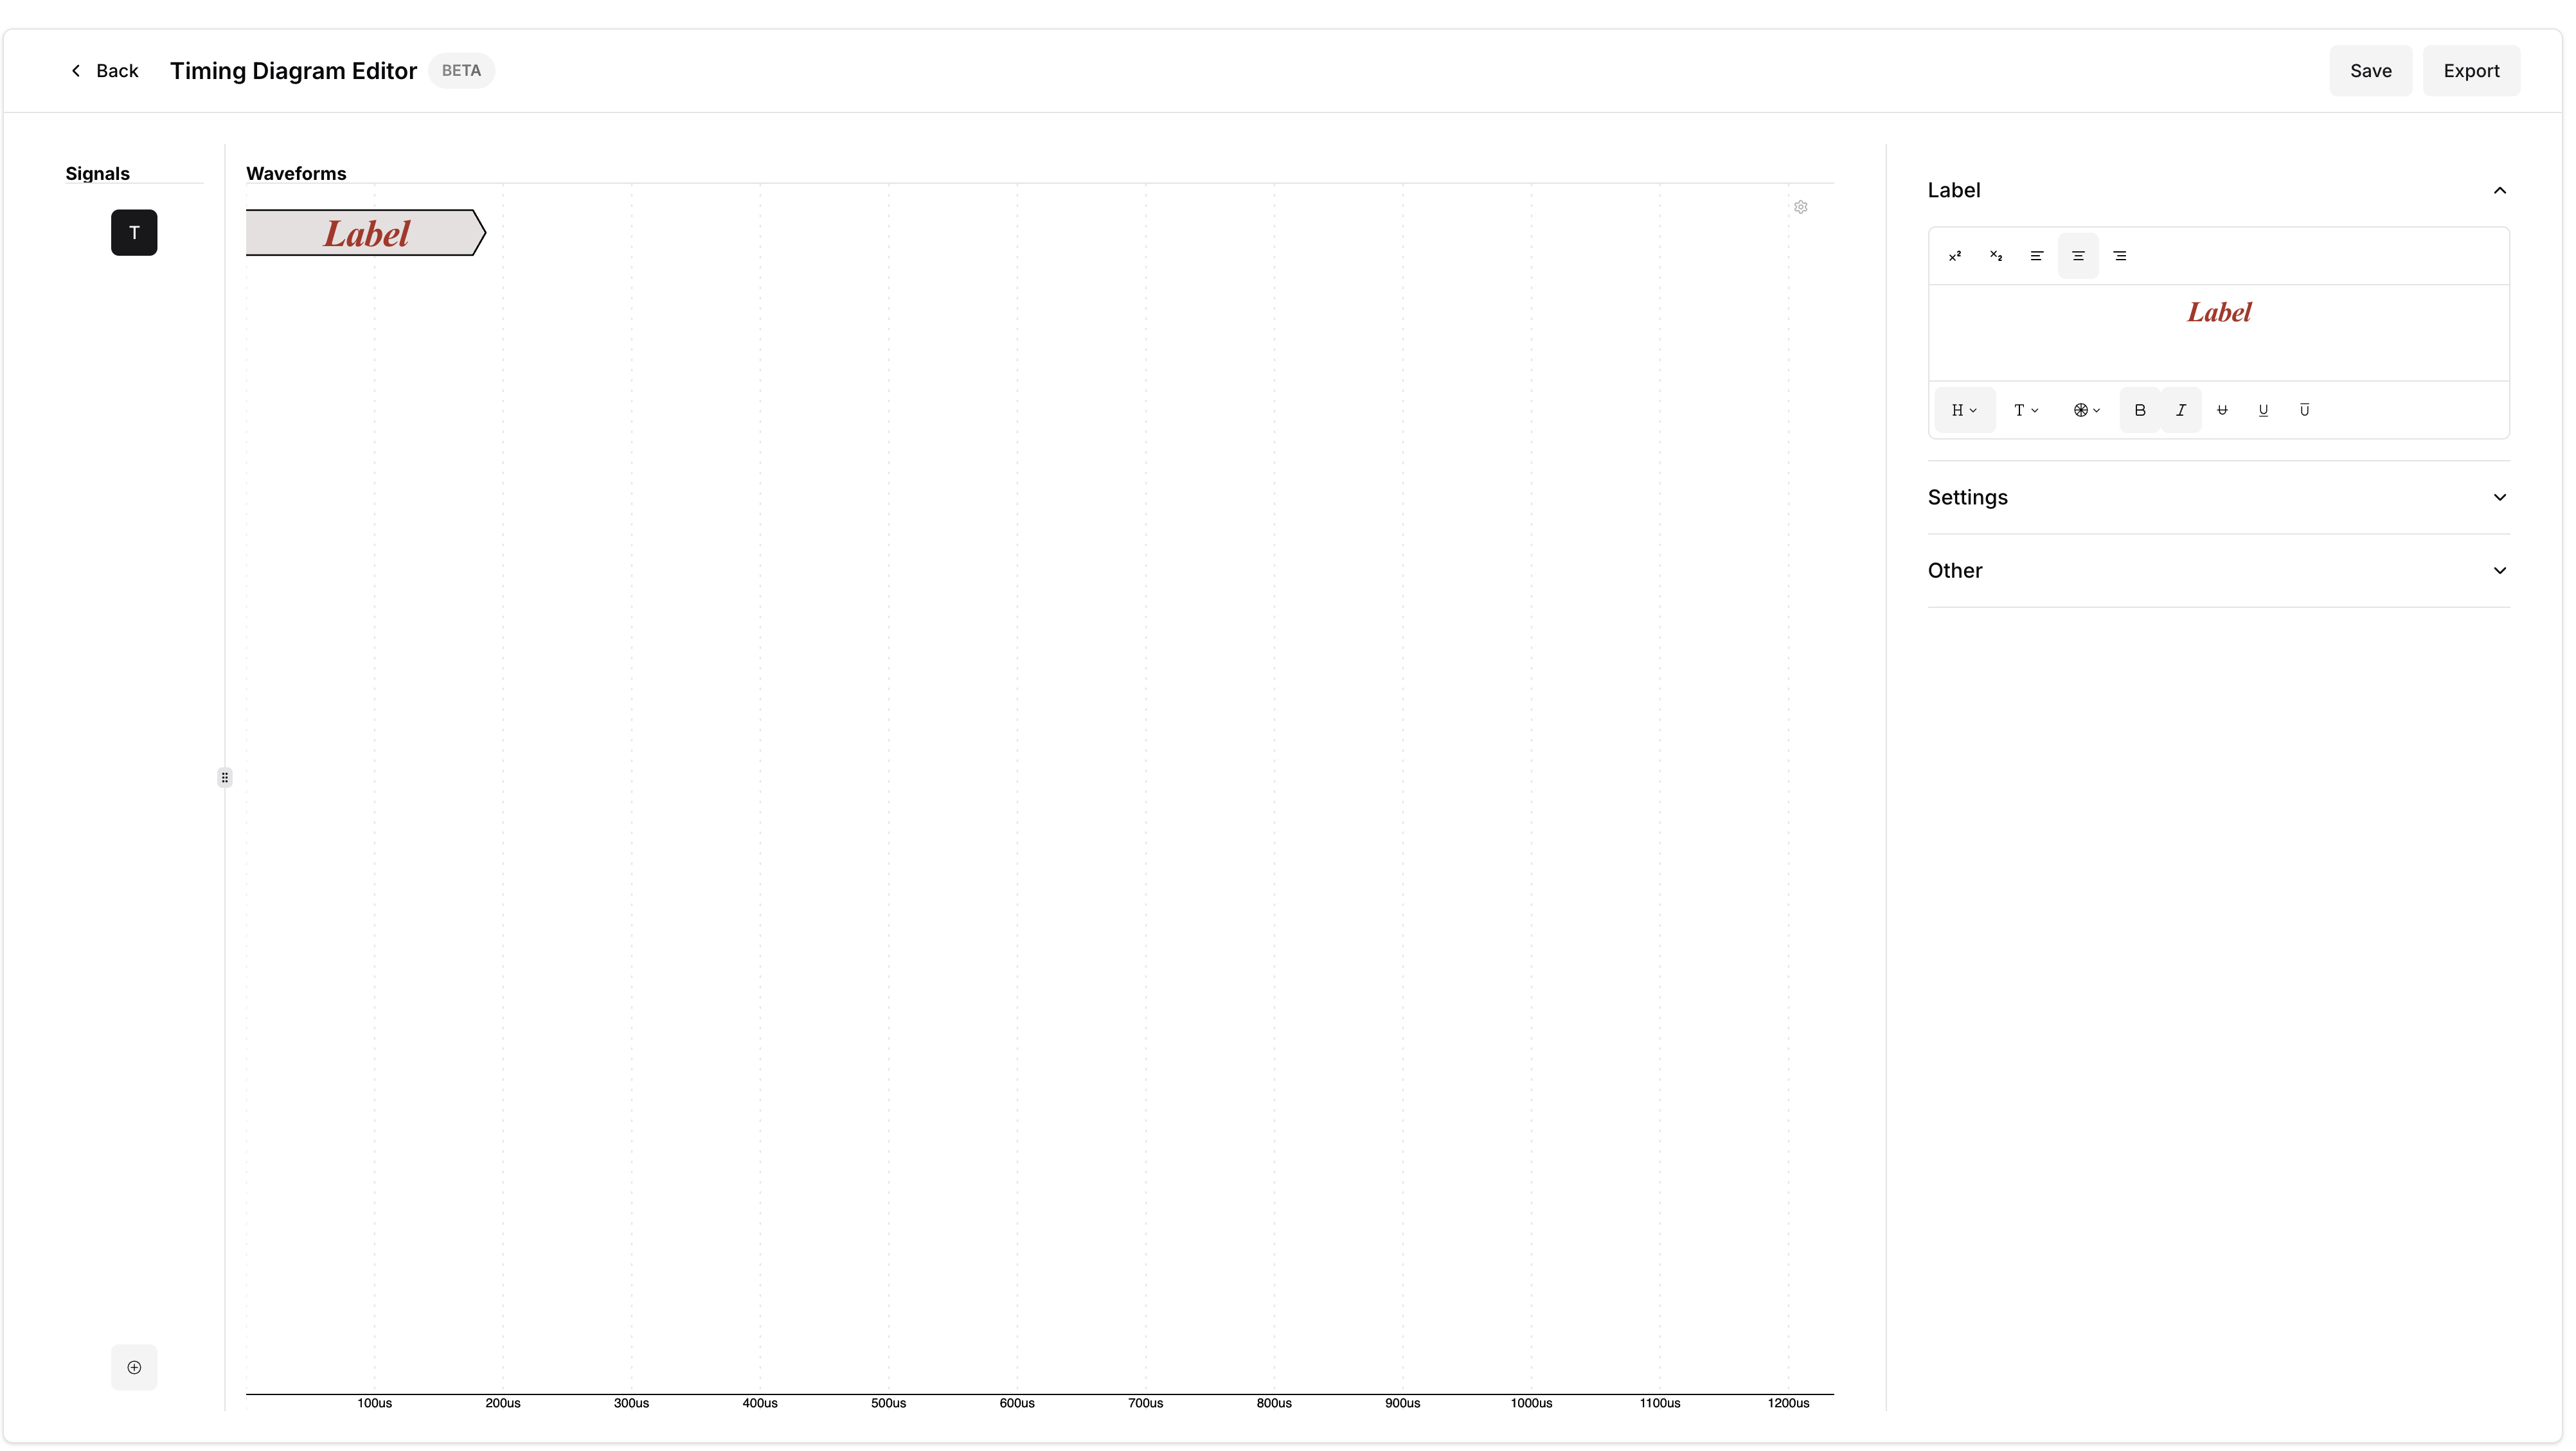
Hover over the signal to be customized, and press e . This will open the sidebar show below allowing you to customize the signal properties as needed.
Adding Annotation Edges
To add annotation edges (with labels), we first need to add connection points. To add a connection point, press and hold s and click anywhere on the canvas to place a connection point.
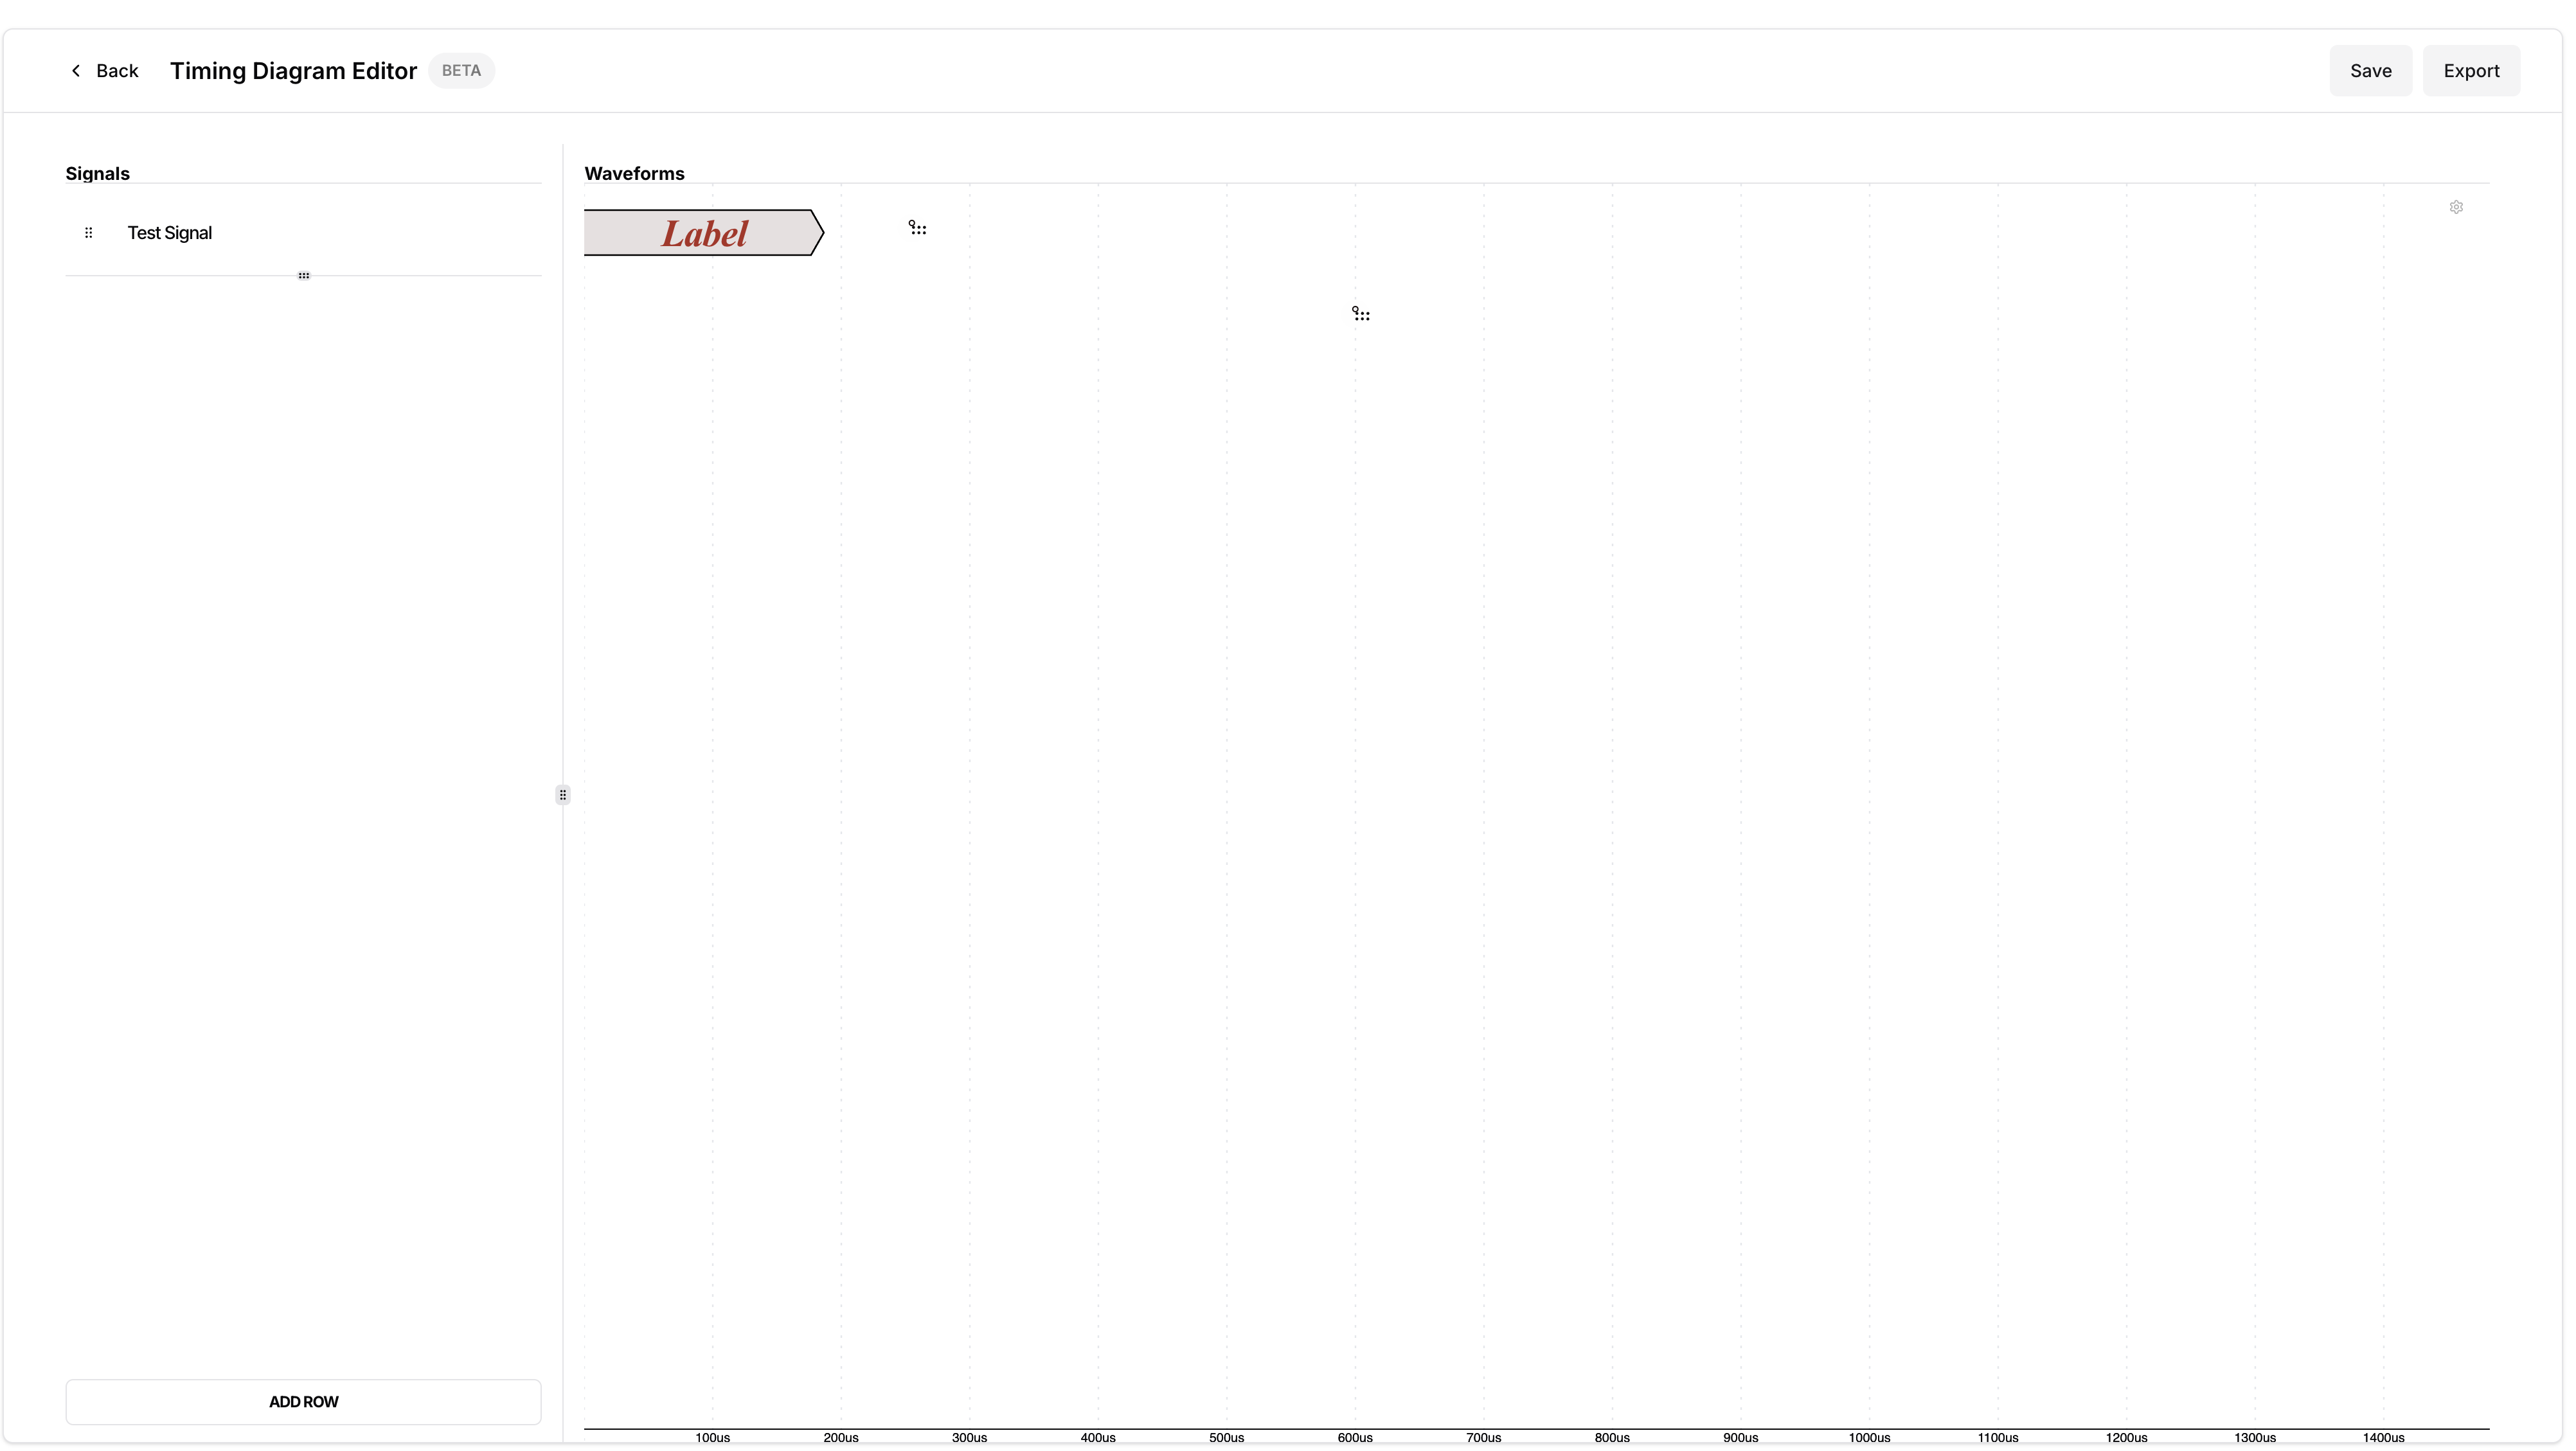
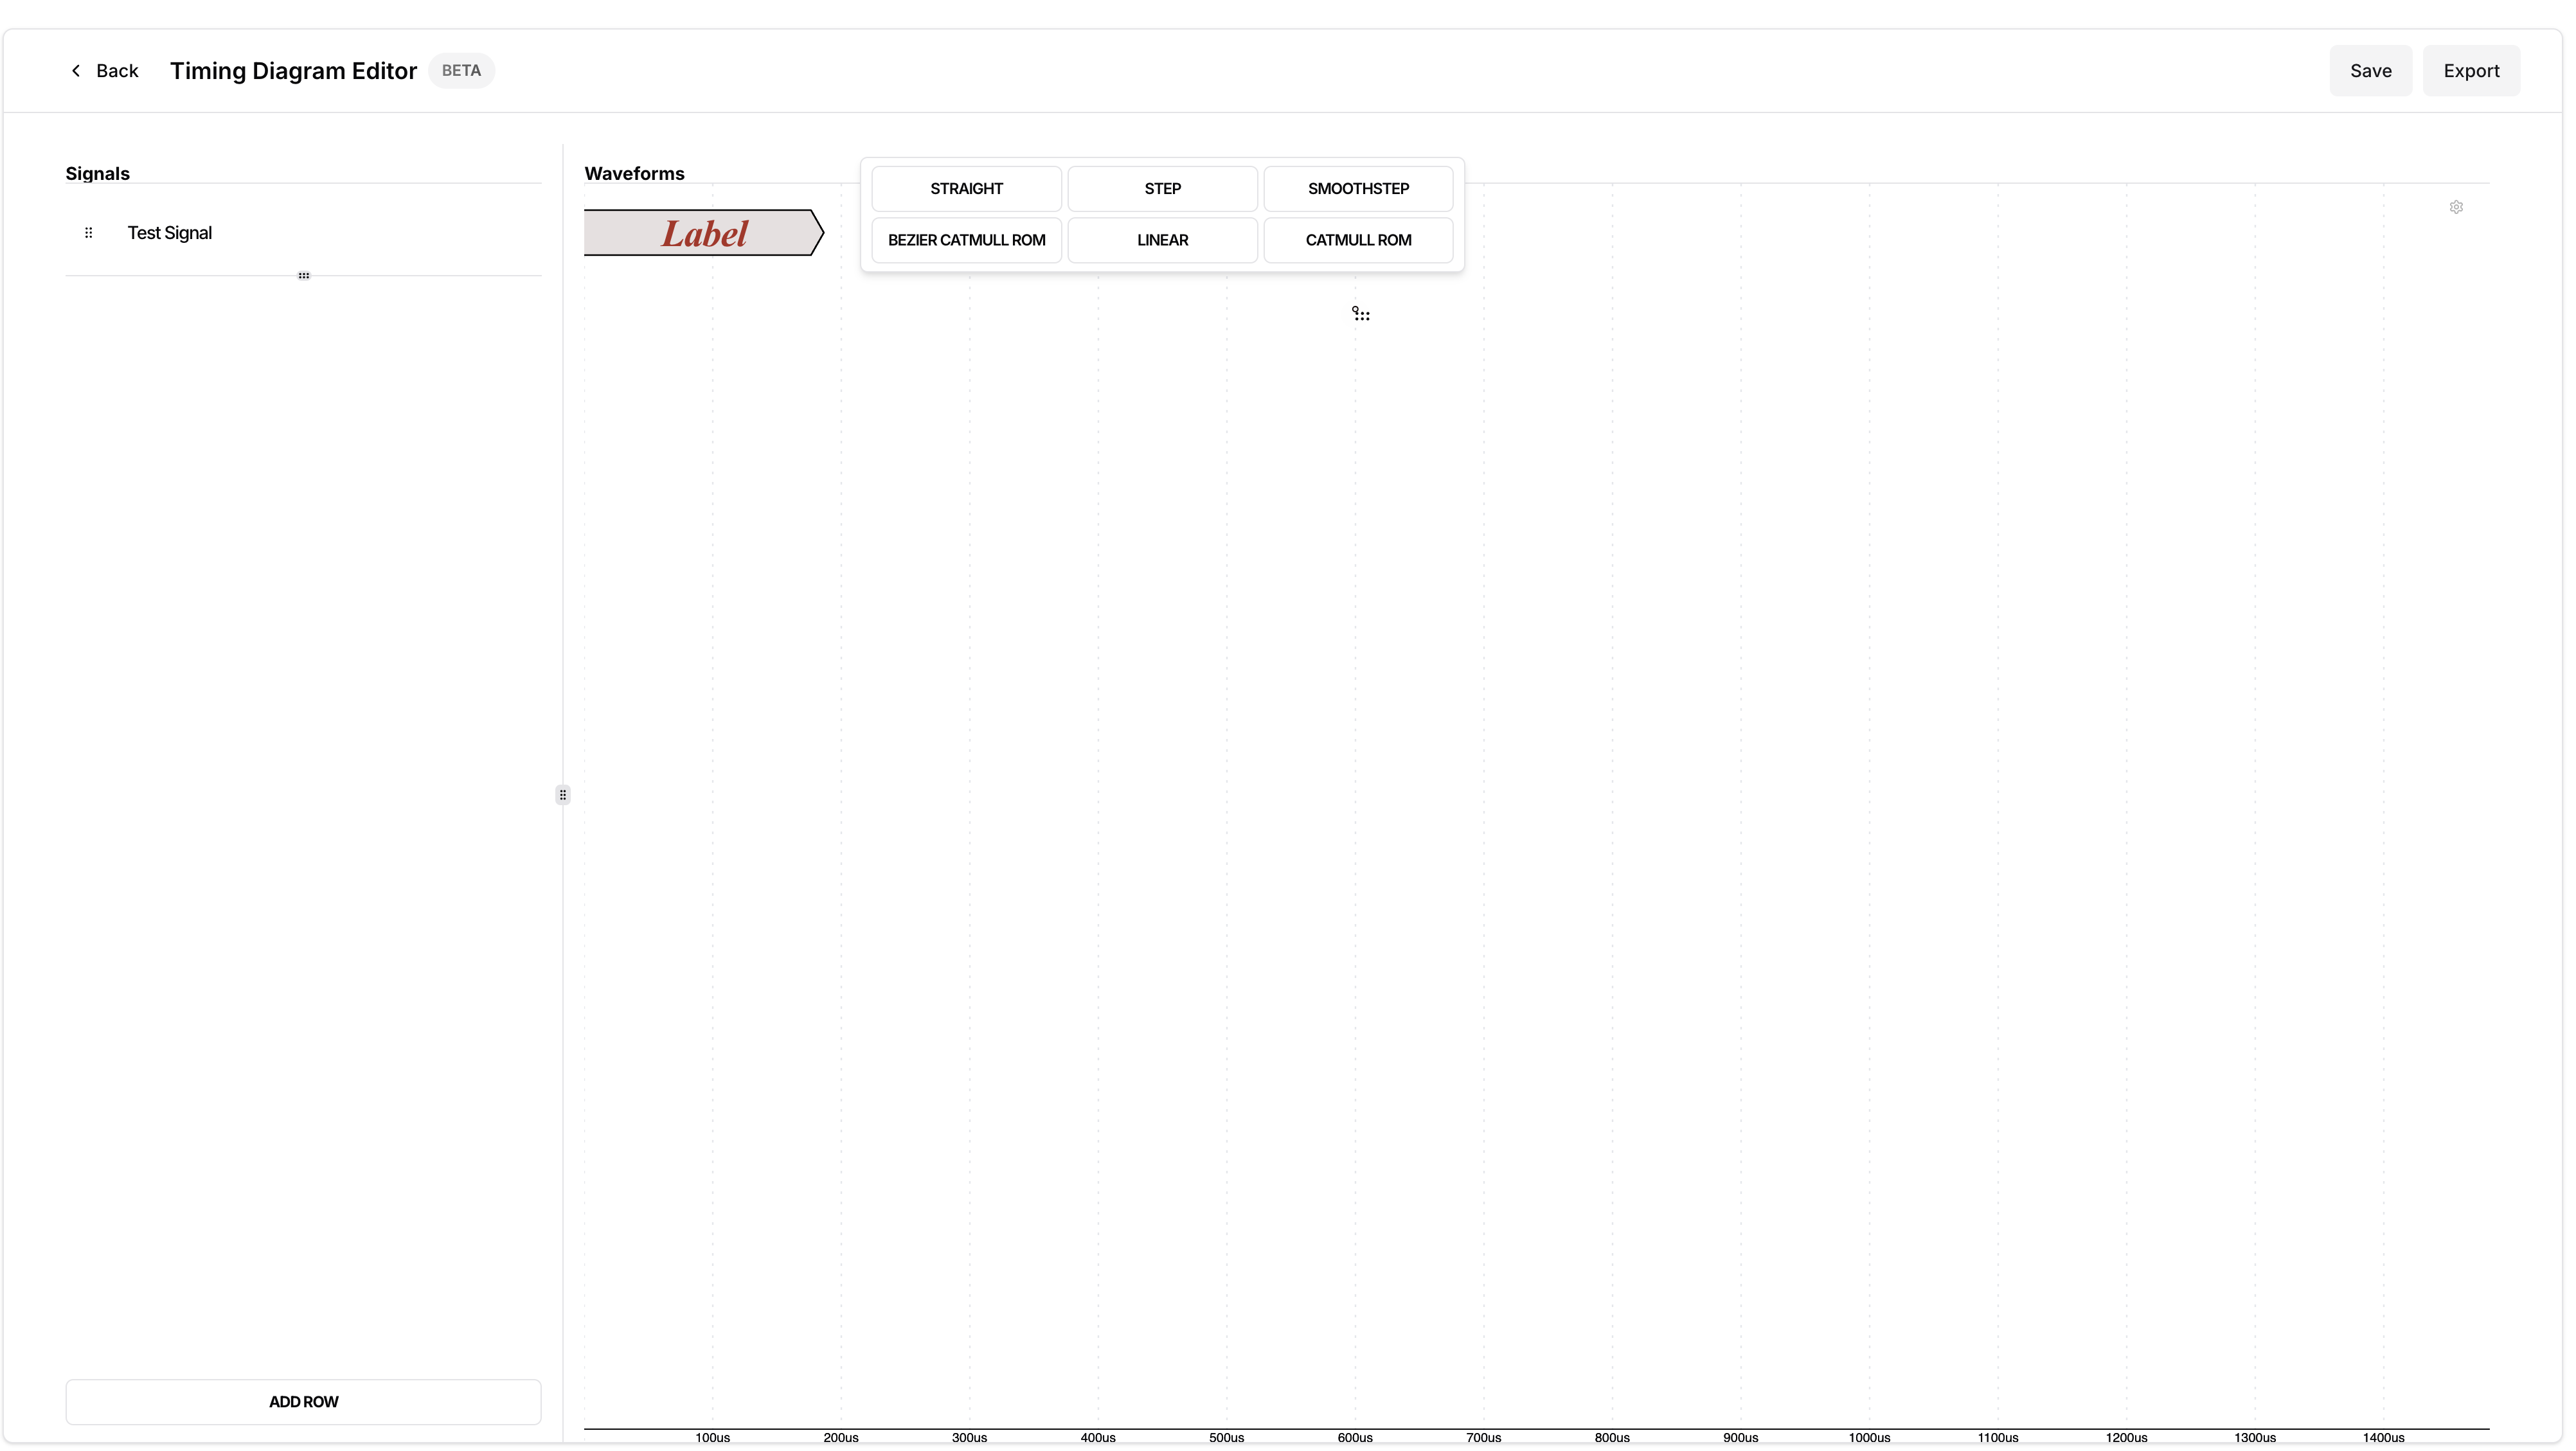
To make a connection between the two points, click on one of the points. A pop-up menu will show up where you can choose what type of edge would you like to draw.
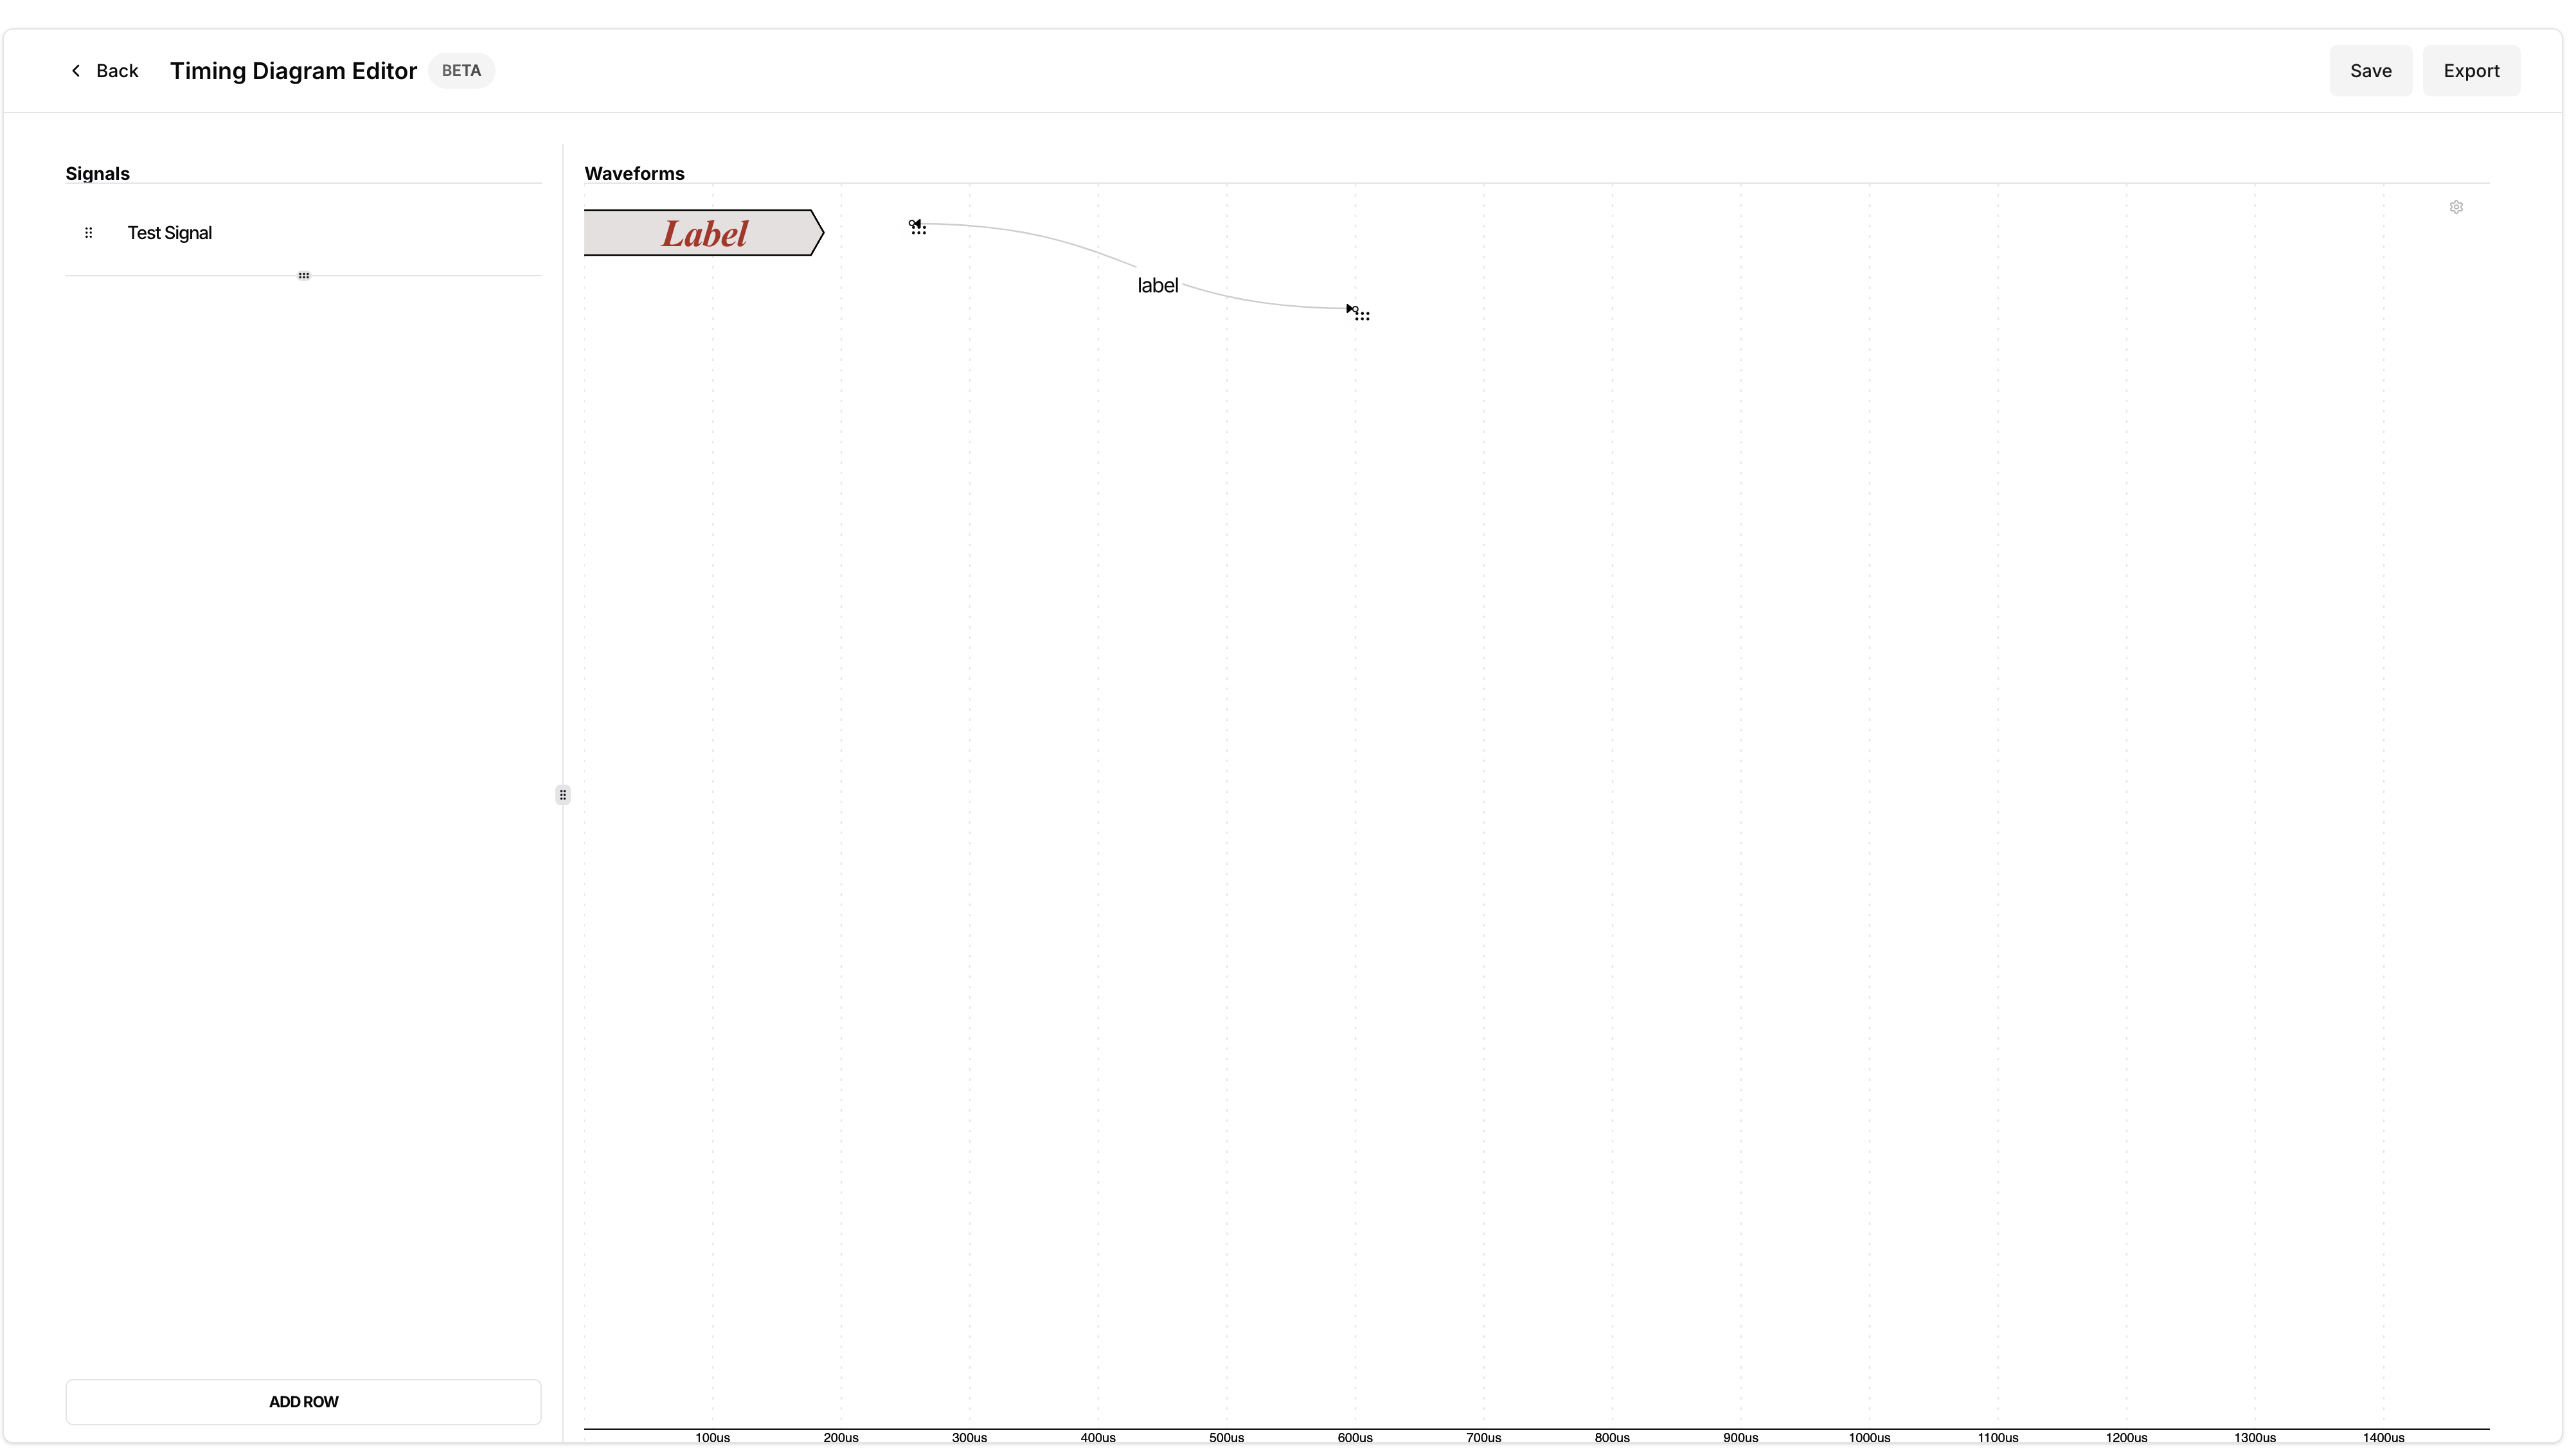
Once the edge type is chosen, click again on the connection point and make a connection between the two points as shown below.
Customize Annotation Edges
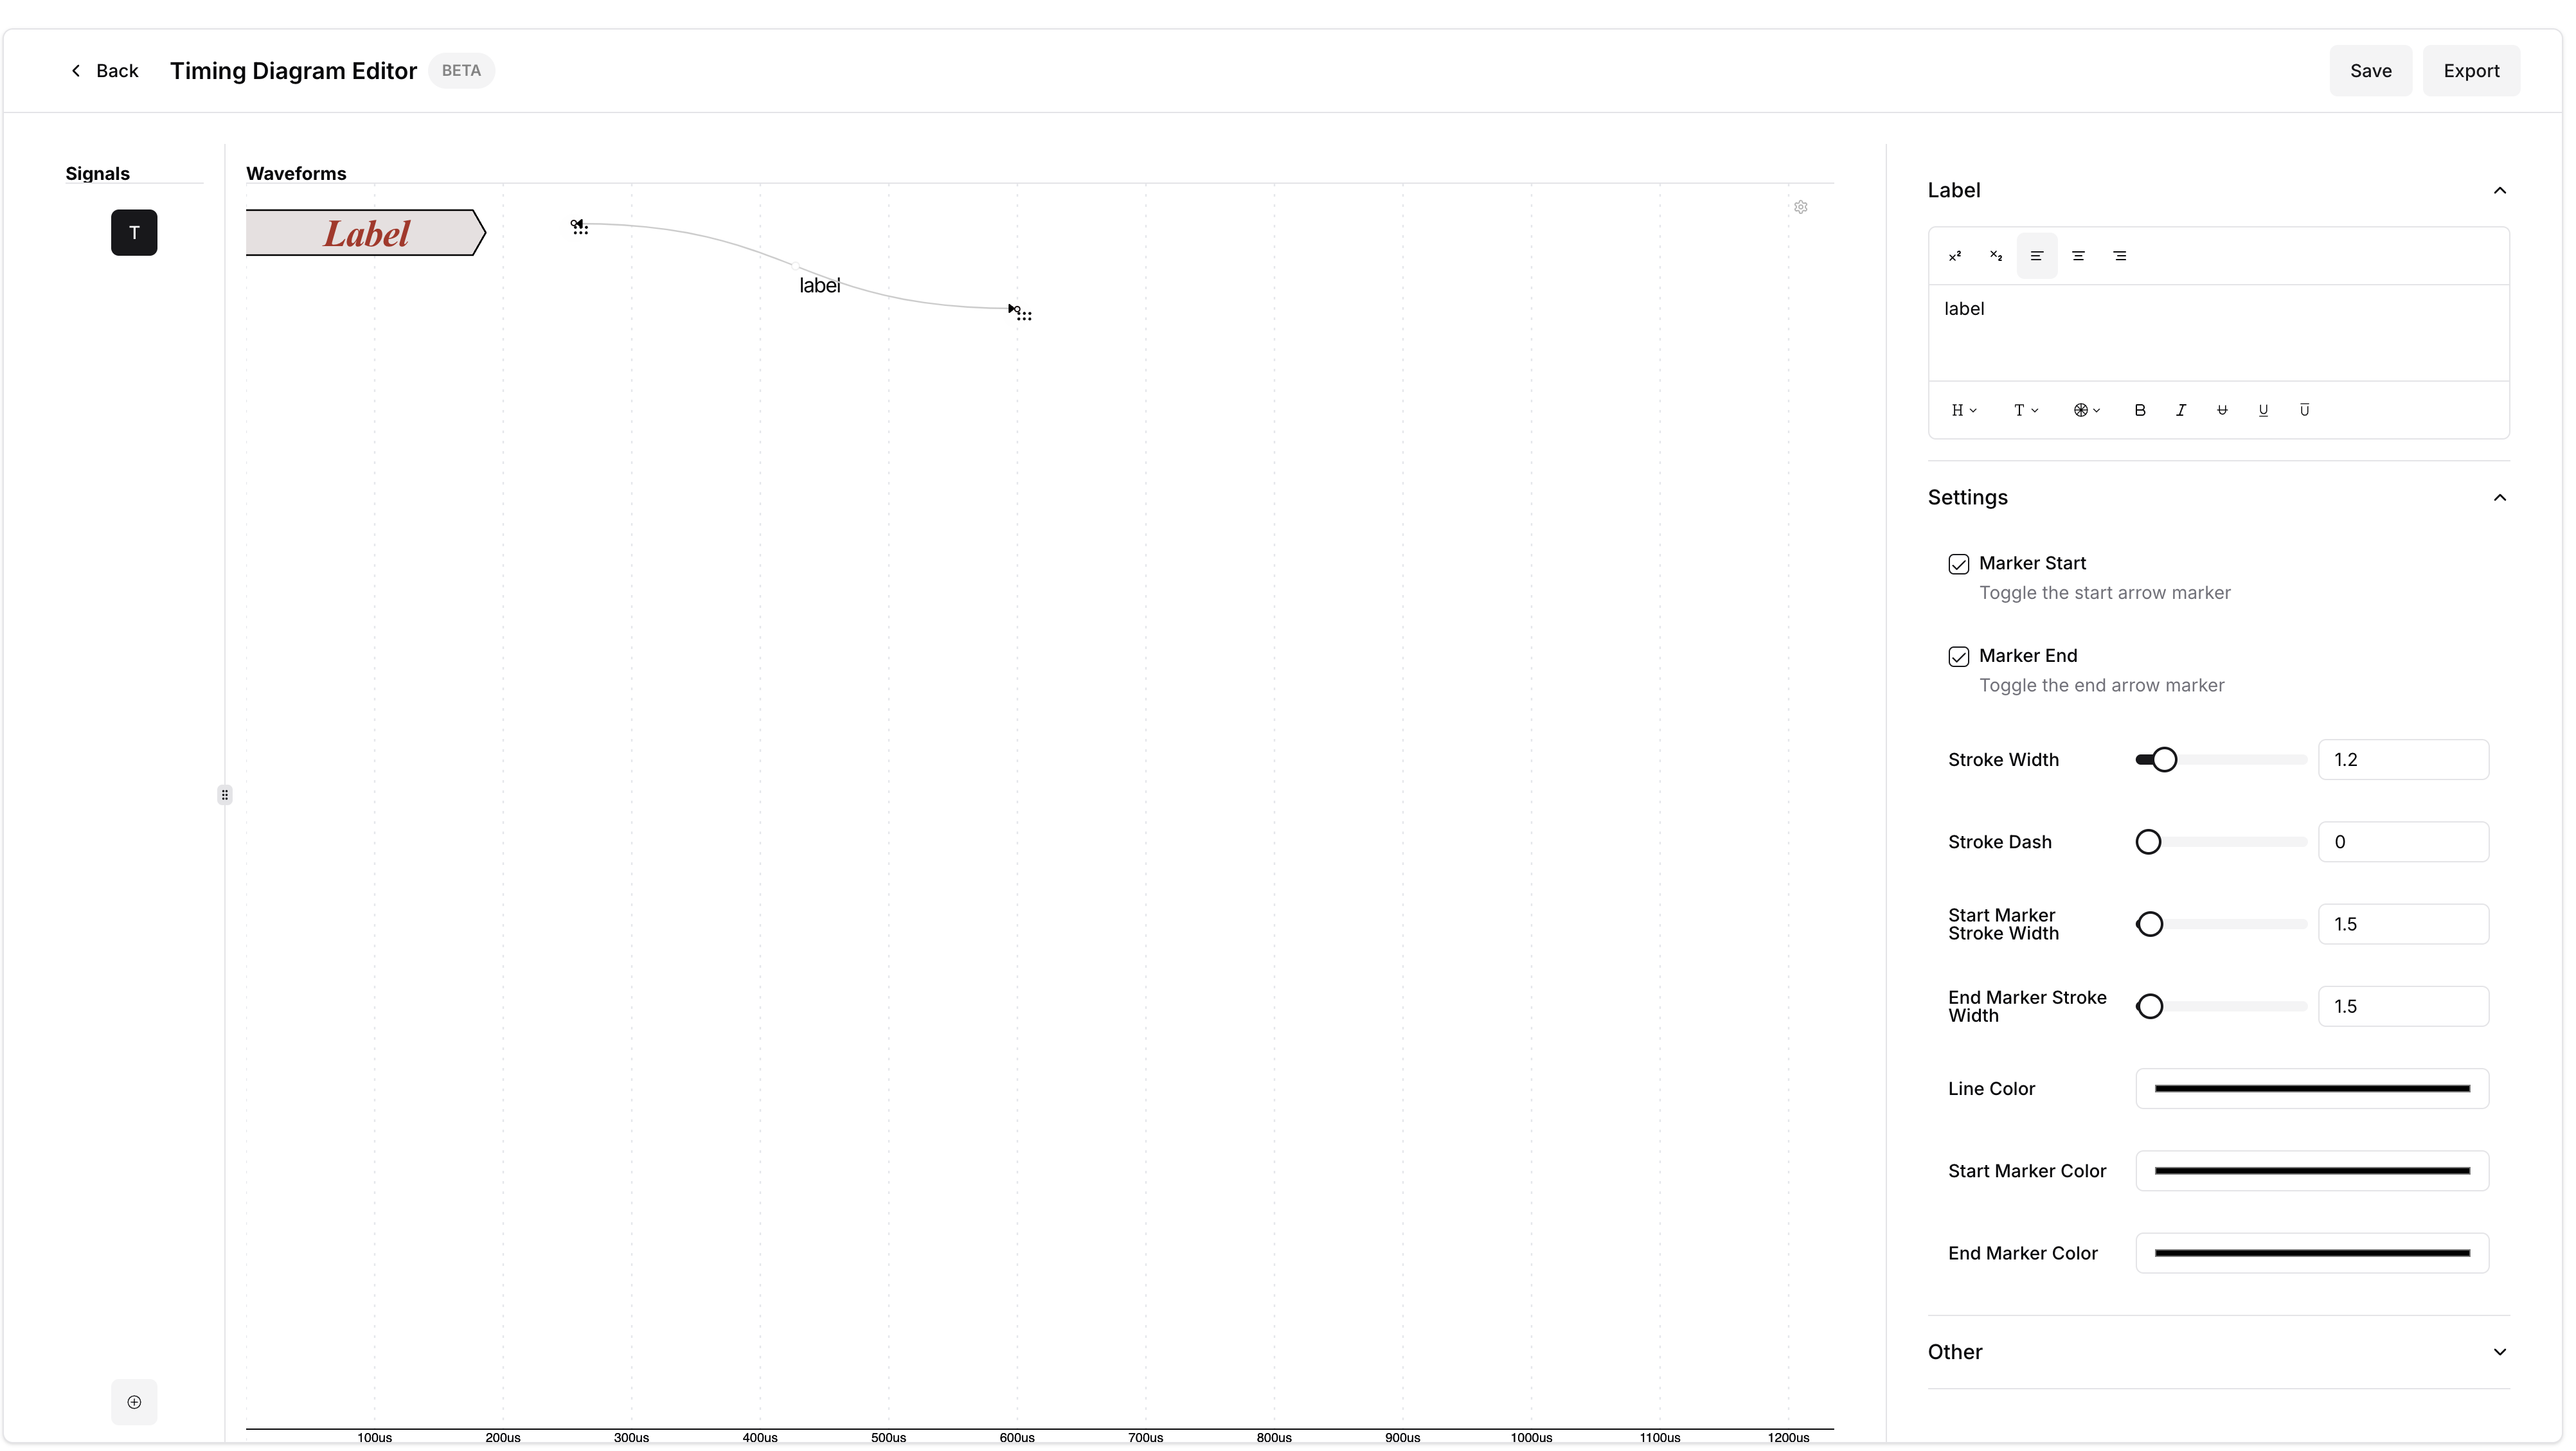
To customize an annotation edge or the label, double-click on the edge. The following sidebar will come up allowing you to customize the look and feel of the edge.
Saving
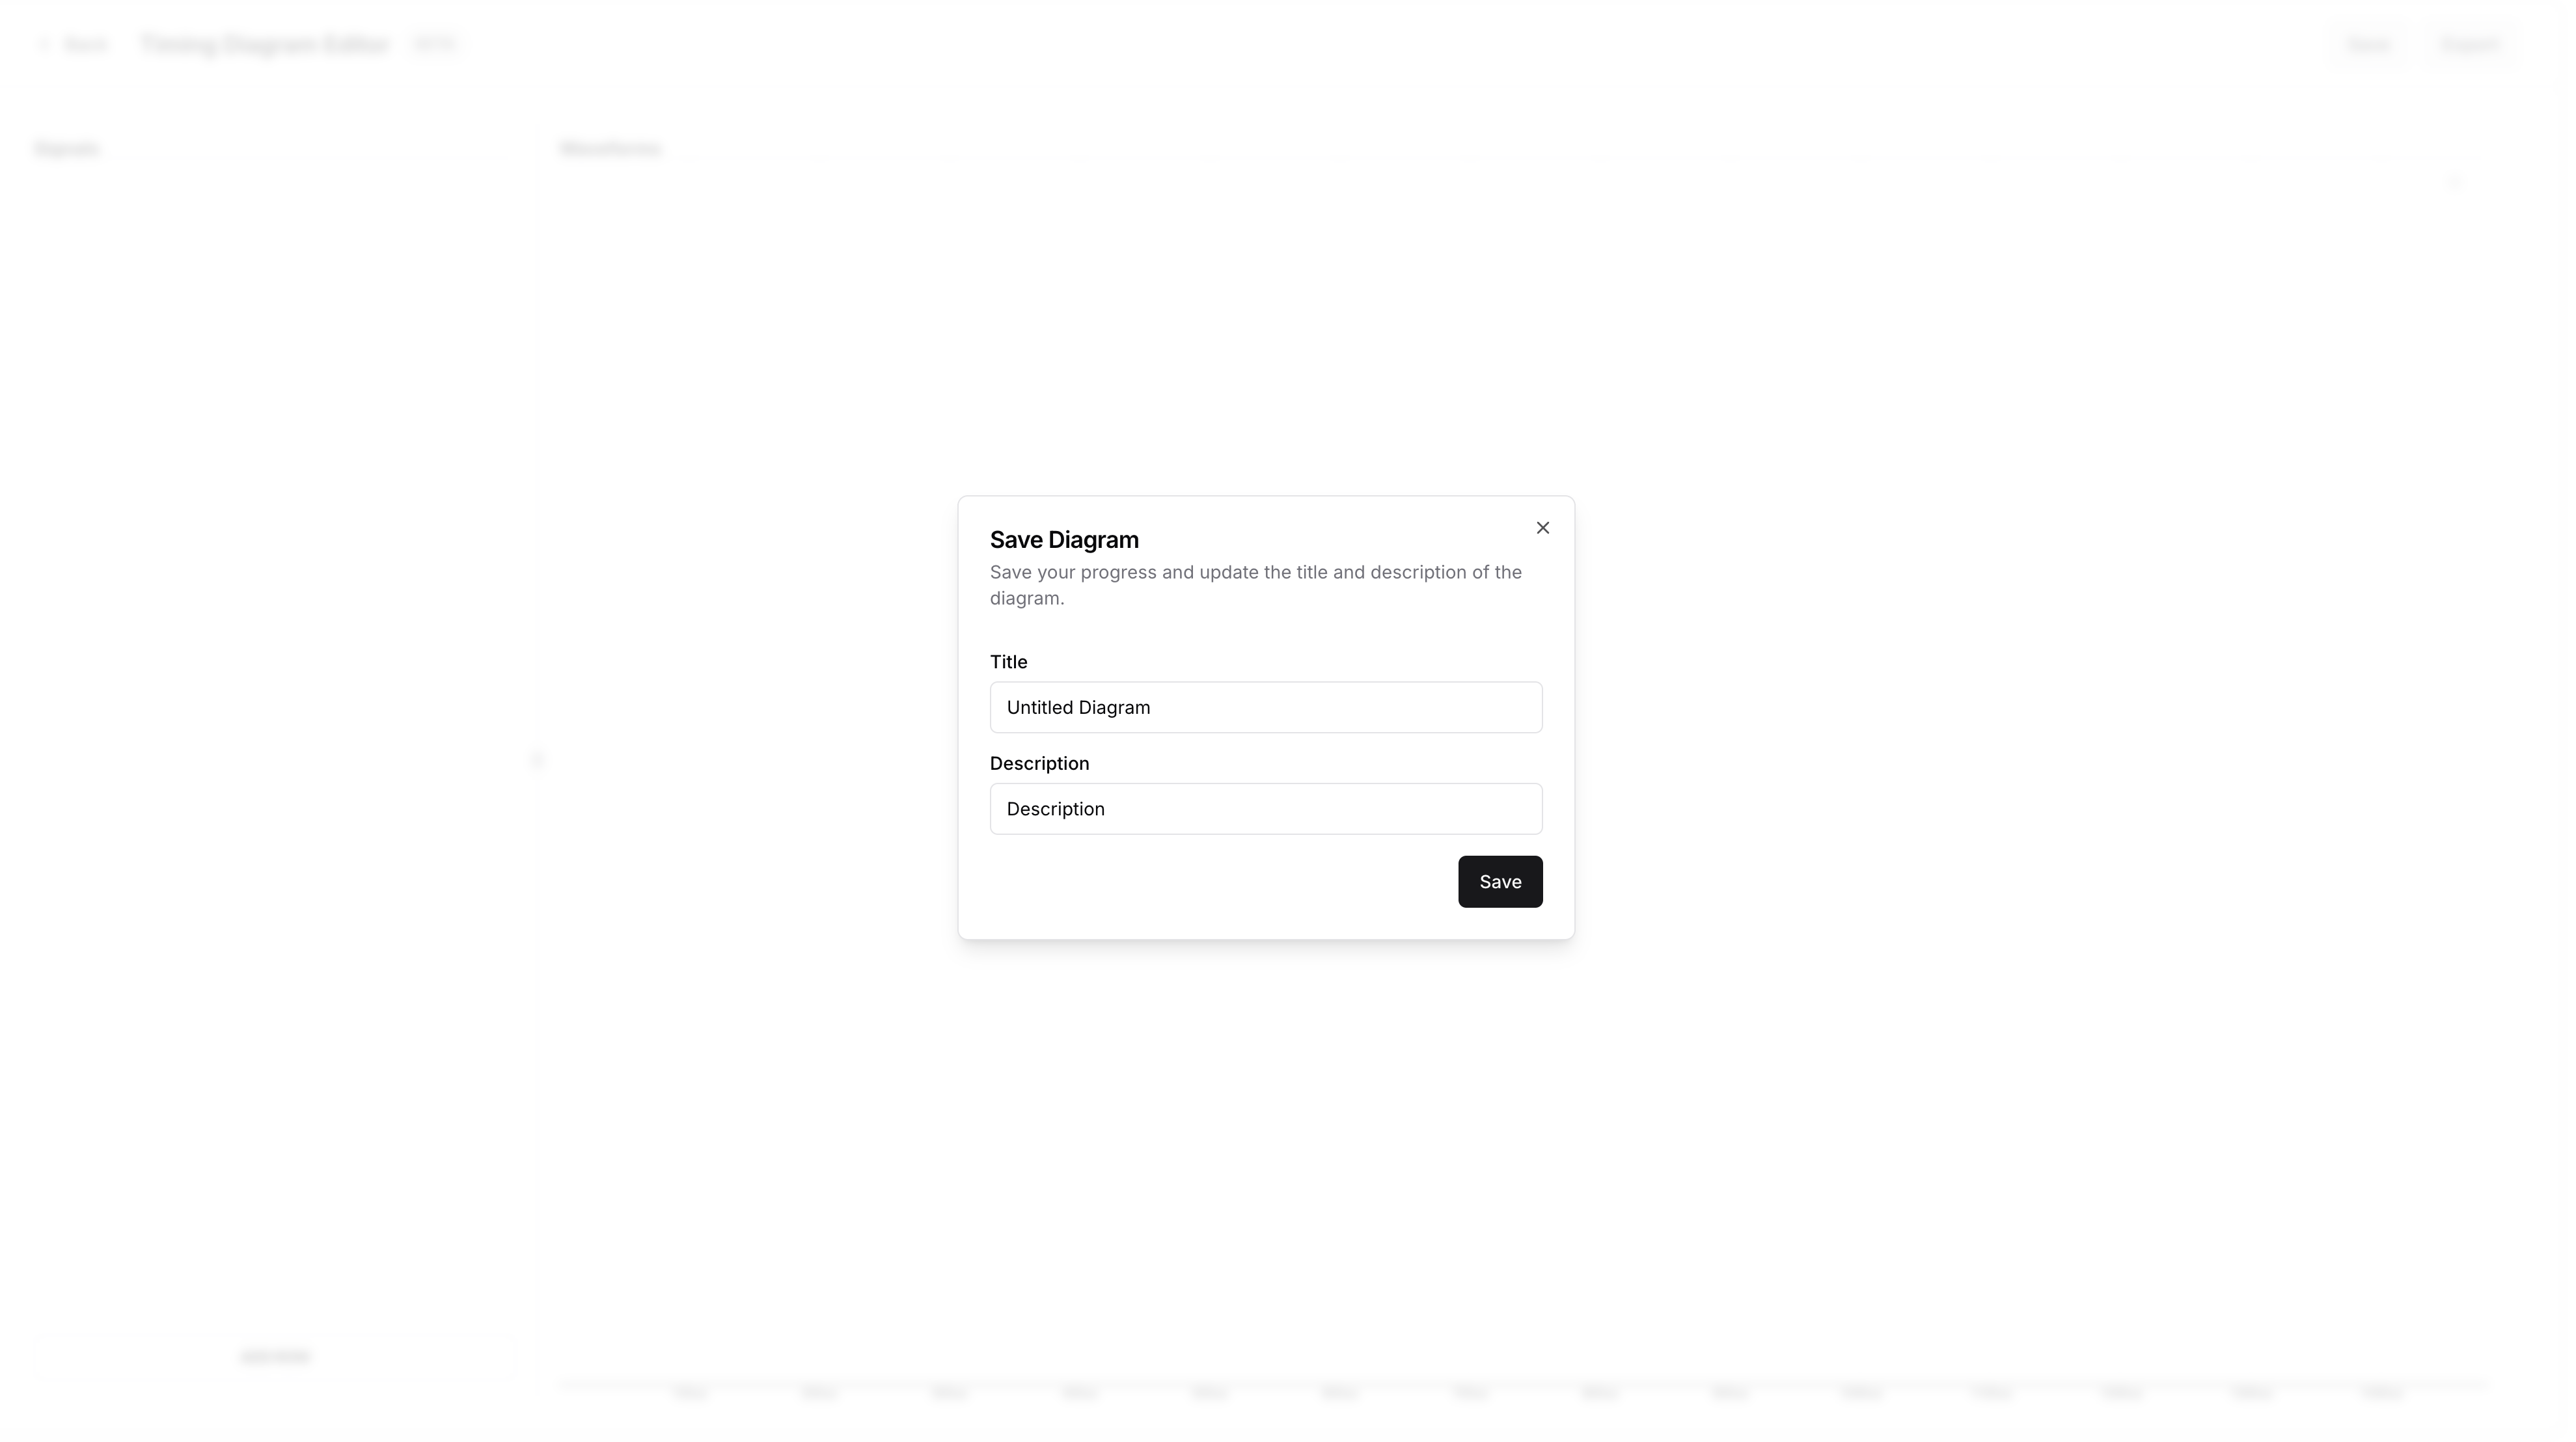
Saving your progress on a timing diagram is done by clicking on the button in the top right corner. The following dialog will come up where you can save the progress, as well as update the timing diagram title and description.
Exporting
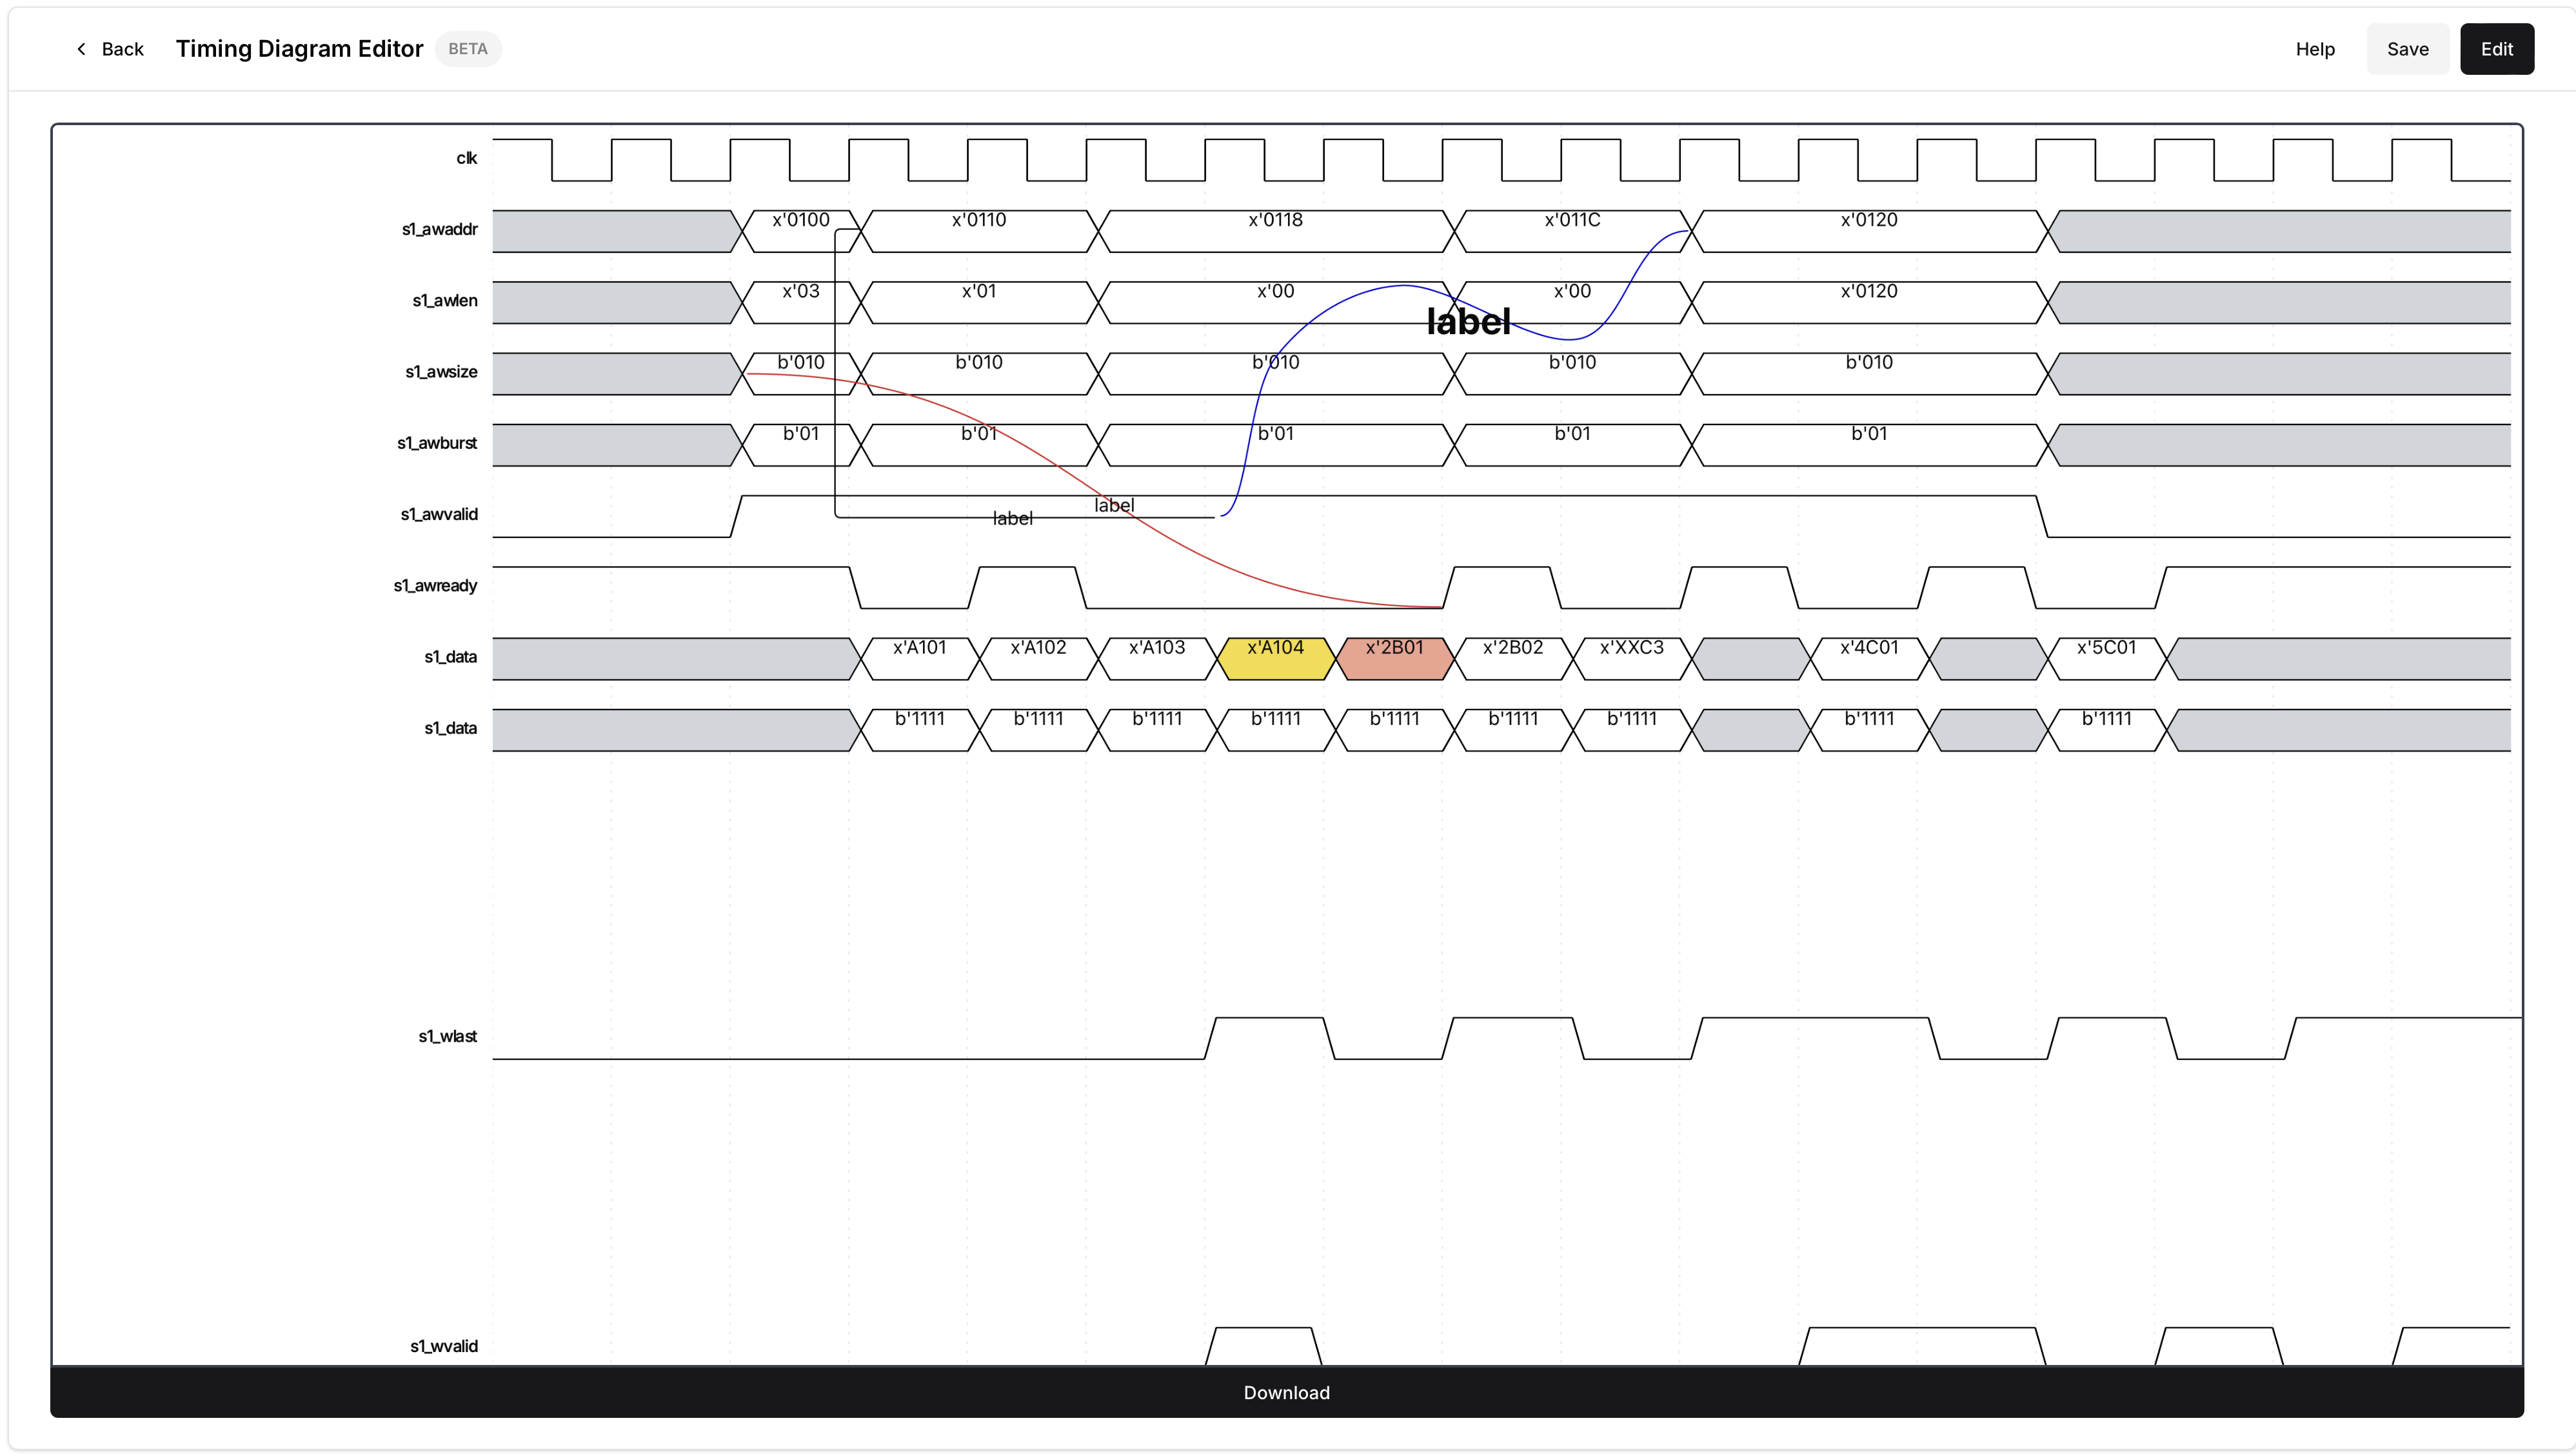
Exporting the diagram is just as easy! Click on the button in the top right corner. Once in Export mode, click on the
button in the bottom left corner.
Result
The timing diagram is exported as a PNG file.

Other
For any quesetions or feature requests, please reach out at: contact@tiagram.com.